Grand Willys Project

Go here for info on chassis construction, body work and suspensions
Post Reply
User avatar
Gojeep
Old Hand
Posts: 7219
Joined: Mon Jan 07, 2008 1:24 pm
Location: Eastern Suburbs of Melbourne
Contact:

Re: Grand Willys Project

Post by Gojeep »

enjenjo wrote: Thu Apr 06, 2023 12:30 am Have you considered using foam to insulate the bed cover to less heat is introduced to the bed area to begin with? I had an insulated cover on my pickup some years ago, and even on a hot sunny day the air inside stayed relatively cool.
I need every millimetre just to fit the fridge under the lid as it is taller than the bed sides.
I might be over thinking this all as will leave the lid up a bit when parked while camping and we are in camp. Only closing it when away from it.
Marcus

To try where there is little hope, is to risk failure.
Not to try at all, is to guarantee it!


____| \______\
|/¯\ |¯ |----O||||O
()_)-o-)¯¯()_)-o-)_)
Mudgy
Old Hand
Posts: 3249
Joined: Sun Dec 12, 2010 8:36 am
Location: Gosford, NSW

Re: Grand Willys Project

Post by Mudgy »

Hi Marcus,
Maybe visit a marina and ask the shipwrights how hulls are vented? You might find a marine vent that could work, and still look ok.

Cheers, Mudgy
Good Judgement comes from experience....experience comes from bad judgement.
User avatar
Gojeep
Old Hand
Posts: 7219
Joined: Mon Jan 07, 2008 1:24 pm
Location: Eastern Suburbs of Melbourne
Contact:

Re: Grand Willys Project

Post by Gojeep »

Really going to have to assess what I will do with Lisa's as well once it is finished, as carrying the fridge in there would not be easy.
Maybe I should re-build the A frame box on the camper and fit our fridge there instead. 90% of the time we have it with us when going on holidays etc.
Marcus

To try where there is little hope, is to risk failure.
Not to try at all, is to guarantee it!


____| \______\
|/¯\ |¯ |----O||||O
()_)-o-)¯¯()_)-o-)_)
User avatar
Gojeep
Old Hand
Posts: 7219
Joined: Mon Jan 07, 2008 1:24 pm
Location: Eastern Suburbs of Melbourne
Contact:

Re: Grand Willys Project

Post by Gojeep »

Image
Something that came to light, that was not unexpected as happens to these stock as well, is bonnet flutter. Starts to appear at around 100kph/60mph and worse when hitting a headwind or a passing truck. So fitted some external bonnet latches.

Image
I like them where they where they were installed in the factory position on CJ's from 1955 on and punched a dimple die access hole where I needed to get to one of the retaining nuts when I made the bonnet support.

Image
I used polished stainless steel ones, RT-Offroad #RT34011, rather than factory chrome so don't have to worry about rust. I bought them from this seller. https://www.ebay.com.au/itm/291388365480
Marcus

To try where there is little hope, is to risk failure.
Not to try at all, is to guarantee it!


____| \______\
|/¯\ |¯ |----O||||O
()_)-o-)¯¯()_)-o-)_)
User avatar
zuffen
Senior Member
Posts: 1926
Joined: Fri Jan 28, 2011 7:45 pm
Location: Sydney

Re: Grand Willys Project

Post by zuffen »

I had to go back 2 pages to find a comparative photo to what it was like without the catches.

I think they suit it and the looks better for having them.
Never argue with an idiot, they will drag you down to their level and beat you with experience.
User avatar
turns
Old Hand
Posts: 2922
Joined: Mon Dec 17, 2007 8:23 pm
Location: Sydney NSW

Re: Grand Willys Project

Post by turns »

Awesome to see your approach to refining the finer elements of your build GJ - I always inspired and learn something from your posts.

Cheers Turns
"Normal is an illusion. What is normal for the spider is chaos for the fly"...............Morticia Addams
User avatar
Gojeep
Old Hand
Posts: 7219
Joined: Mon Jan 07, 2008 1:24 pm
Location: Eastern Suburbs of Melbourne
Contact:

Re: Grand Willys Project

Post by Gojeep »

Many thanks for the comments.
I did them a little while ago and never got around to posting about them. ;)
Marcus

To try where there is little hope, is to risk failure.
Not to try at all, is to guarantee it!


____| \______\
|/¯\ |¯ |----O||||O
()_)-o-)¯¯()_)-o-)_)
User avatar
Gojeep
Old Hand
Posts: 7219
Joined: Mon Jan 07, 2008 1:24 pm
Location: Eastern Suburbs of Melbourne
Contact:

Re: Grand Willys Project

Post by Gojeep »

Image
Looking to make a storage chest to go against the head board of the truck bed. What to dress it up a bit embossing Willys into it in the scale of the Willys Knight sign I have.

Image
I taped some clear plastic over the sign and then freehanded it to be more like the small Willys logo.

Image
I took elements from both logos to get what I liked the look of. I prefer the flowing script of the Knight sign for instance over the other one.

Image
Transferred from the plastic to the card underneath by just running over the script hard with a ball point pen and then going over the impression left in the card afterwards.

Image
Cut the script out and drew around it to get my embossing pattern.

Image
This is 304 stainless steel 0.7mm thick and still does not stretch well at all. I have done all I can reach with my bead roller and will turn the dies around to complete it.

Image
Finished going around using the art dies in my bead roller.

Image
I decided to stretch the embossing by hammering the letter face to get it to sit flat and correct the distortion.

Image
My steel table is made from two old rusted barbeque plates and the surface imperfections transferred into the hammered area as expected. One day I will have to get a new top for the table.

Image
Used a DA sander and a strip disc to help get rid of the tooling marks etc. Have to be really careful as is only 23 gauge so could easily make it too thin.

Image
A bit of fine sanding on the embossing to bring it out.
Marcus

To try where there is little hope, is to risk failure.
Not to try at all, is to guarantee it!


____| \______\
|/¯\ |¯ |----O||||O
()_)-o-)¯¯()_)-o-)_)
User avatar
Sly Fox
Senior Member
Posts: 1923
Joined: Sat Apr 24, 2010 7:10 pm
Location: Castle Hill, NSW

Re: Grand Willys Project

Post by Sly Fox »

Awesome work Marcus, good to see you back creating more metal magic.
51 Dodge Custom & 63 EH Ute - Dare to be different
User avatar
robtus
Senior Member
Posts: 1108
Joined: Wed Apr 27, 2011 9:54 pm
Location: Moffat Beach SUNNY QLD
Contact:

Re: Grand Willys Project

Post by robtus »

Very brave to tackle such light stainless. I tried tig welding that stuff once, made a real mess...
I never make the same mistake twice, I do it 5 or 6 times just to be sure !!!

Making progress, https://www.muston.com/public_html/34%2 ... _Limo.html
User avatar
Chrisso
Old Hand
Posts: 4178
Joined: Thu Apr 12, 2012 10:44 am
Location: Albury NSW

Re: Grand Willys Project

Post by Chrisso »

Exceptional skills as is the norm Marcus the storage chest should look the goods I'm thinking. Thanks for sharing. :wink: :wink: 8) 8) 8) 8)
User avatar
Gojeep
Old Hand
Posts: 7219
Joined: Mon Jan 07, 2008 1:24 pm
Location: Eastern Suburbs of Melbourne
Contact:

Re: Grand Willys Project

Post by Gojeep »

Sly Fox wrote: Wed May 24, 2023 8:40 pm Awesome work Marcus, good to see you back creating more metal magic.
I missed doing it to be honest!
Marcus

To try where there is little hope, is to risk failure.
Not to try at all, is to guarantee it!


____| \______\
|/¯\ |¯ |----O||||O
()_)-o-)¯¯()_)-o-)_)
User avatar
Gojeep
Old Hand
Posts: 7219
Joined: Mon Jan 07, 2008 1:24 pm
Location: Eastern Suburbs of Melbourne
Contact:

Re: Grand Willys Project

Post by Gojeep »

robtus wrote: Thu May 25, 2023 8:08 am Very brave to tackle such light stainless. I tried tig welding that stuff once, made a real mess...
I was after 0.9 but they only carried 1.2 or 0.7. Just thought that 1.2 would be too hard to do the script in.
Least I have a spot welder to put most of this together with. :)
Marcus

To try where there is little hope, is to risk failure.
Not to try at all, is to guarantee it!


____| \______\
|/¯\ |¯ |----O||||O
()_)-o-)¯¯()_)-o-)_)
User avatar
Gojeep
Old Hand
Posts: 7219
Joined: Mon Jan 07, 2008 1:24 pm
Location: Eastern Suburbs of Melbourne
Contact:

Re: Grand Willys Project

Post by Gojeep »

Image
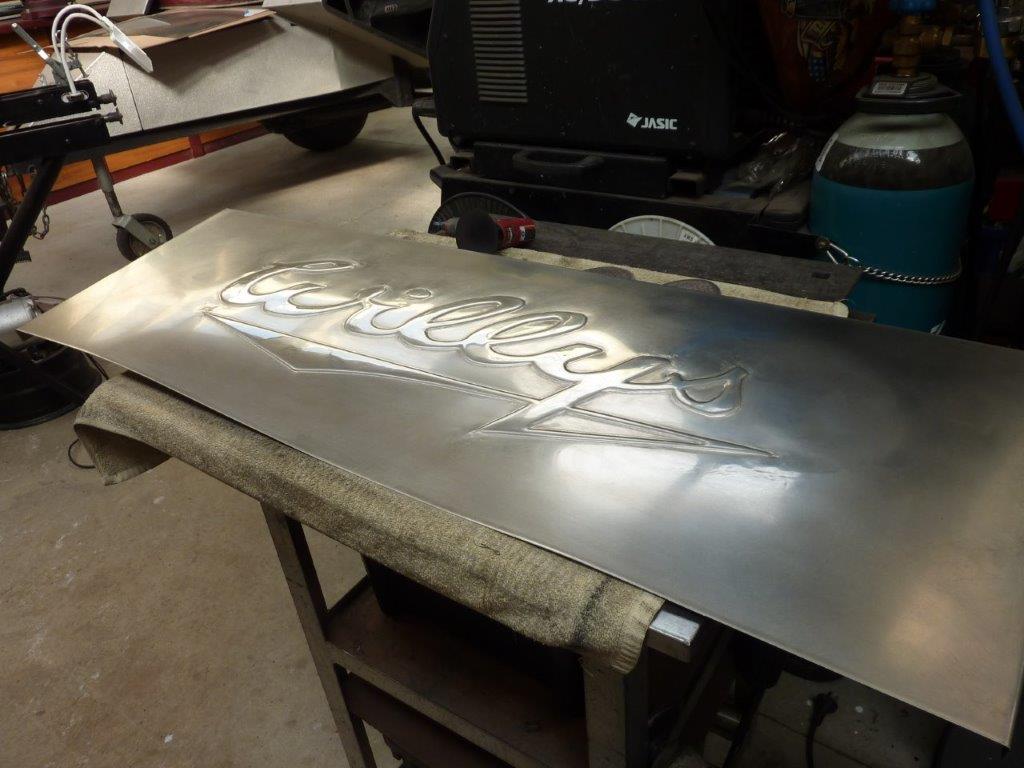
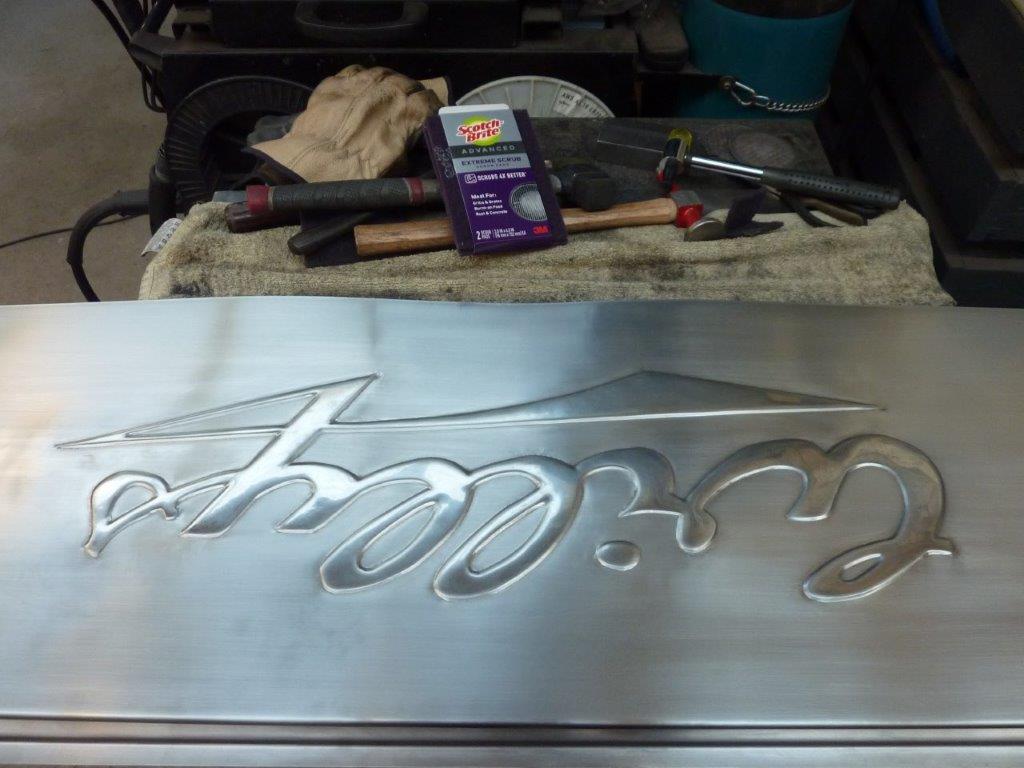
I wanted a brush finish for the stainless as think it will be more practical. Tried different grades of sandpaper and Scotch-brite and ended up settling on the purple extreme scrub bought at the supermarket.

Image
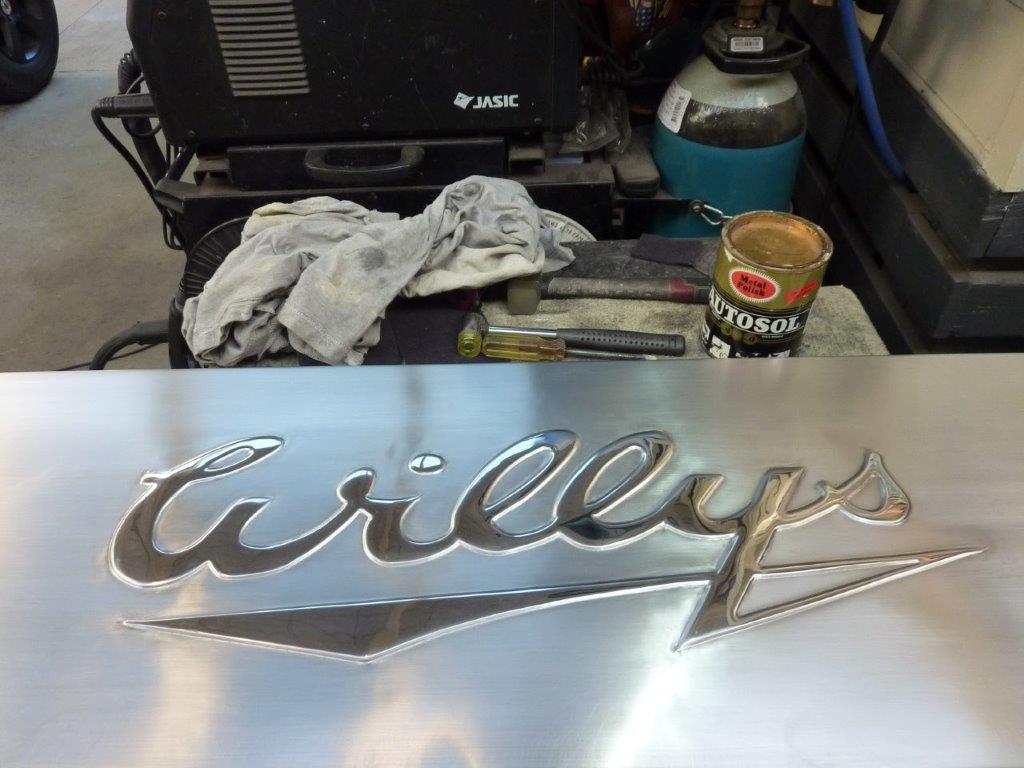
Then hit the script with good old Autosol.

Image
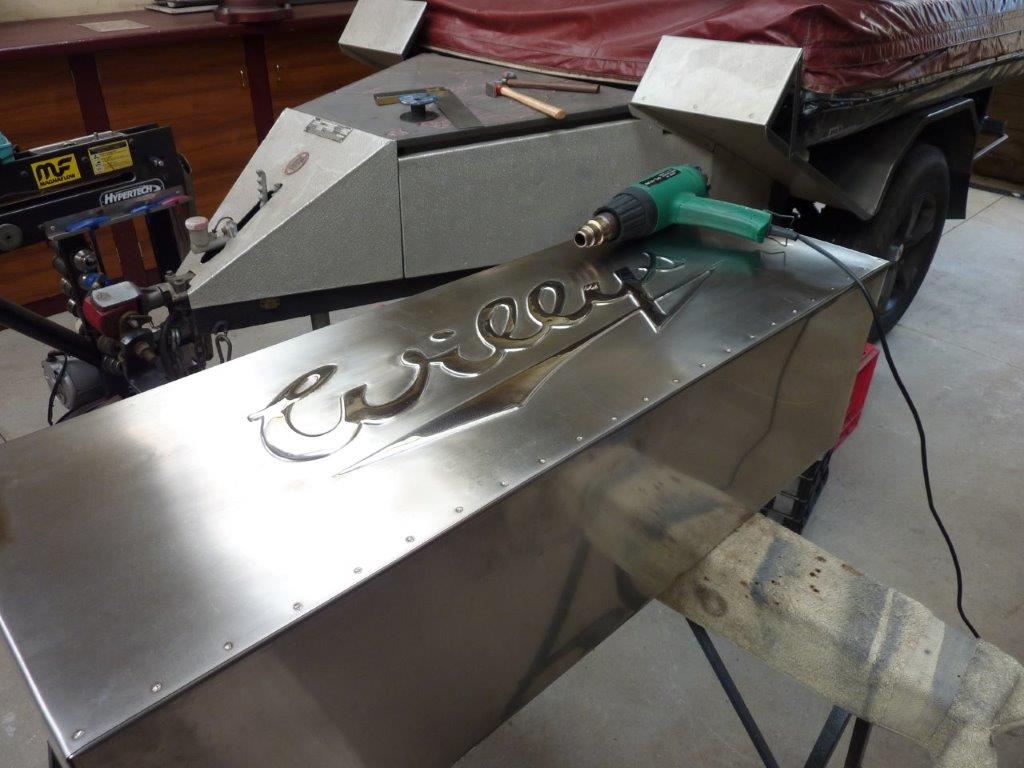
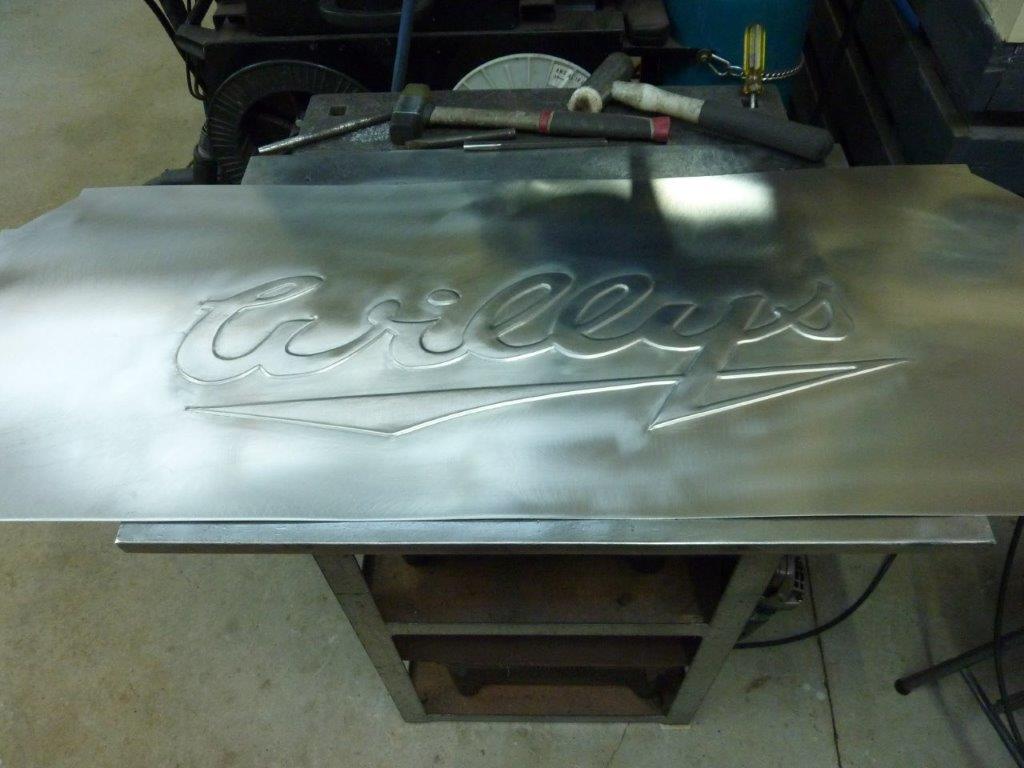
I designed the box so I could access all the seams with my spot welded as the stainless is so thin. I had a oil can in the front face and thought I would try using a heat gun on the high spot for 15-20 seconds. Then cooled with a damp rag. Took the oil can right out!

Image
Thought to make a lid for it in a similar design to the doors and back of the cab. The radius in the corners also match it.

Image
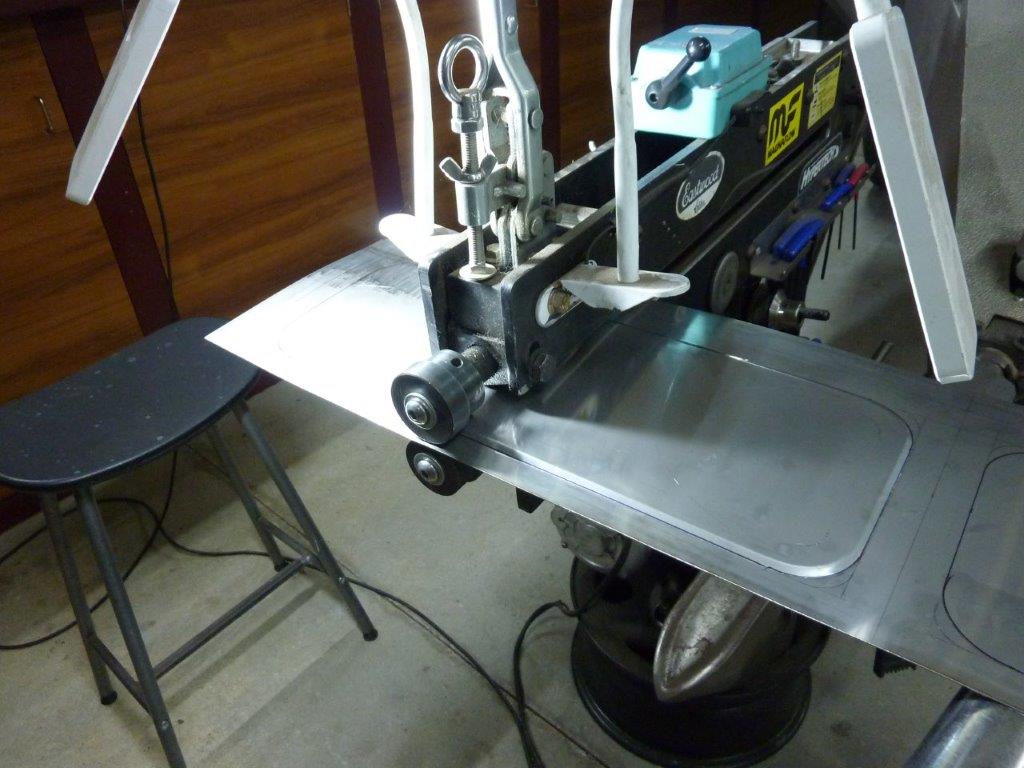
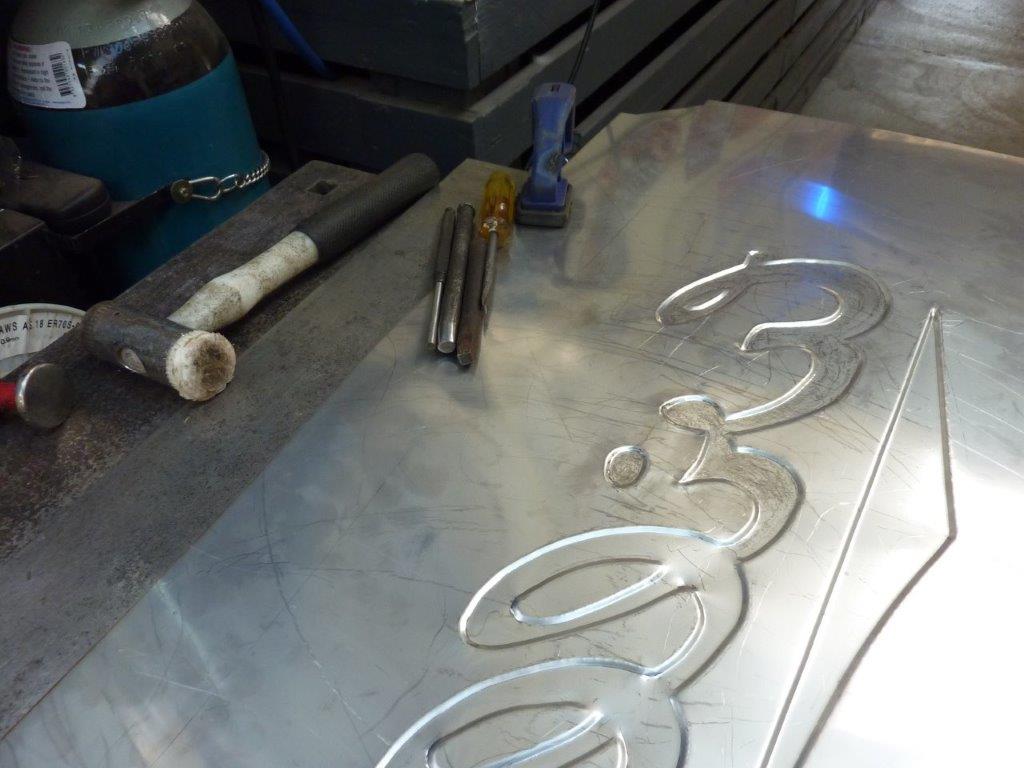
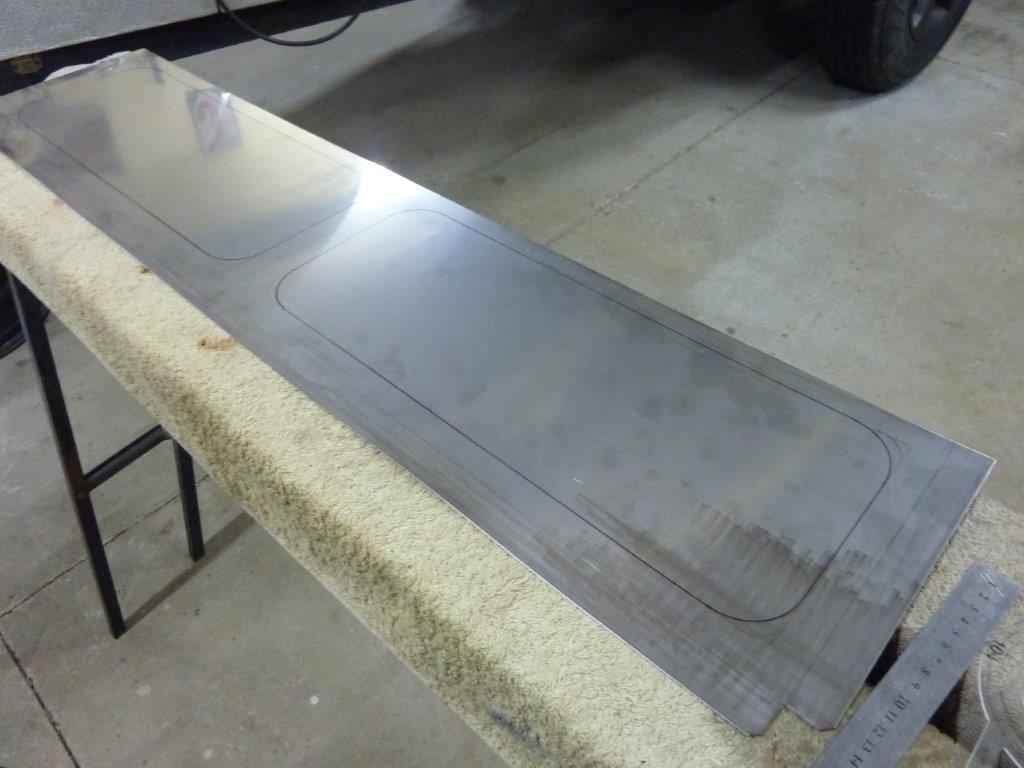
Using step dies this time rather than art dies as keeps things flatter.

Image
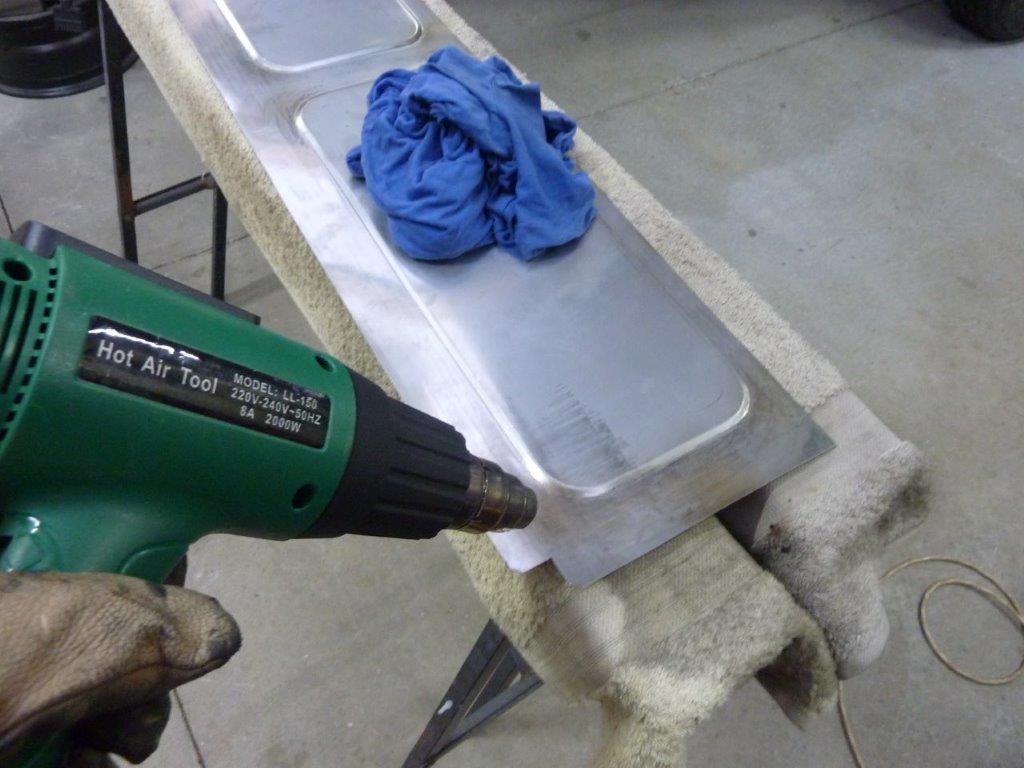
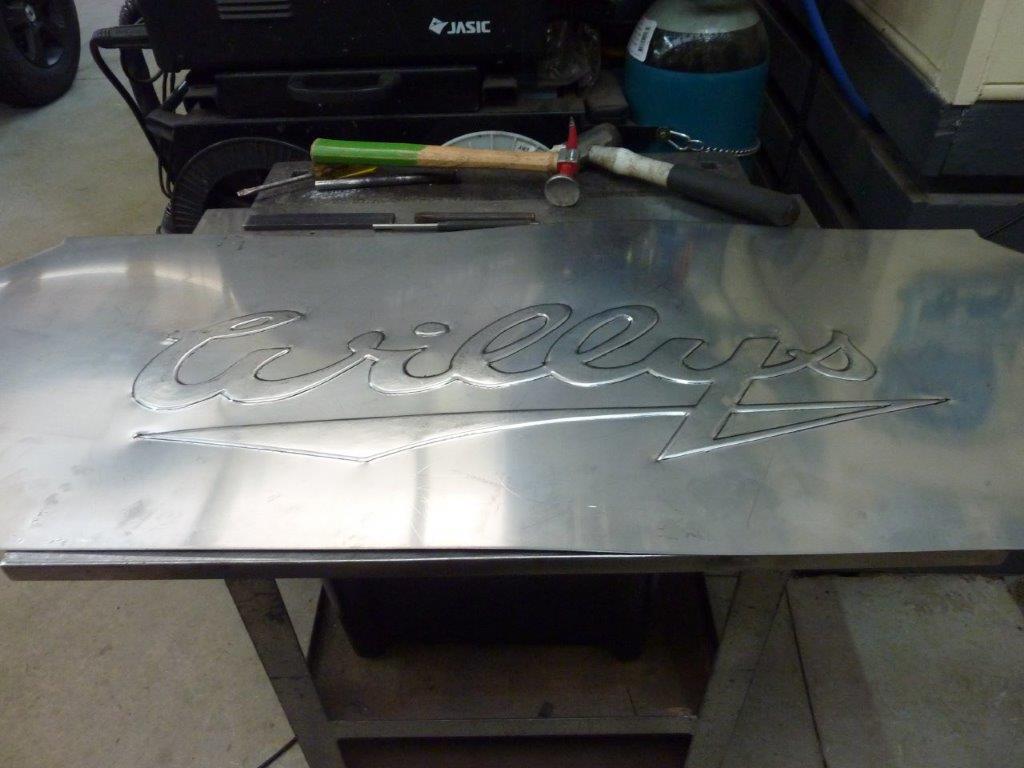
Using the heat gun to shrink where the metal gathered in the corners as it is so near the edge.

Image
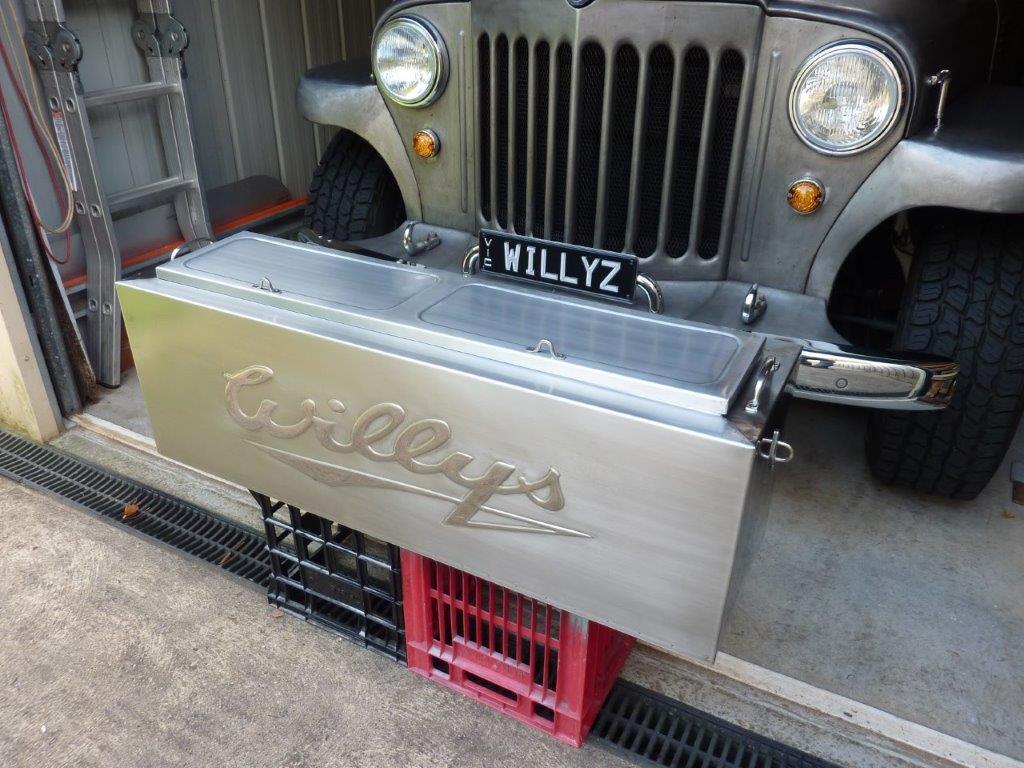
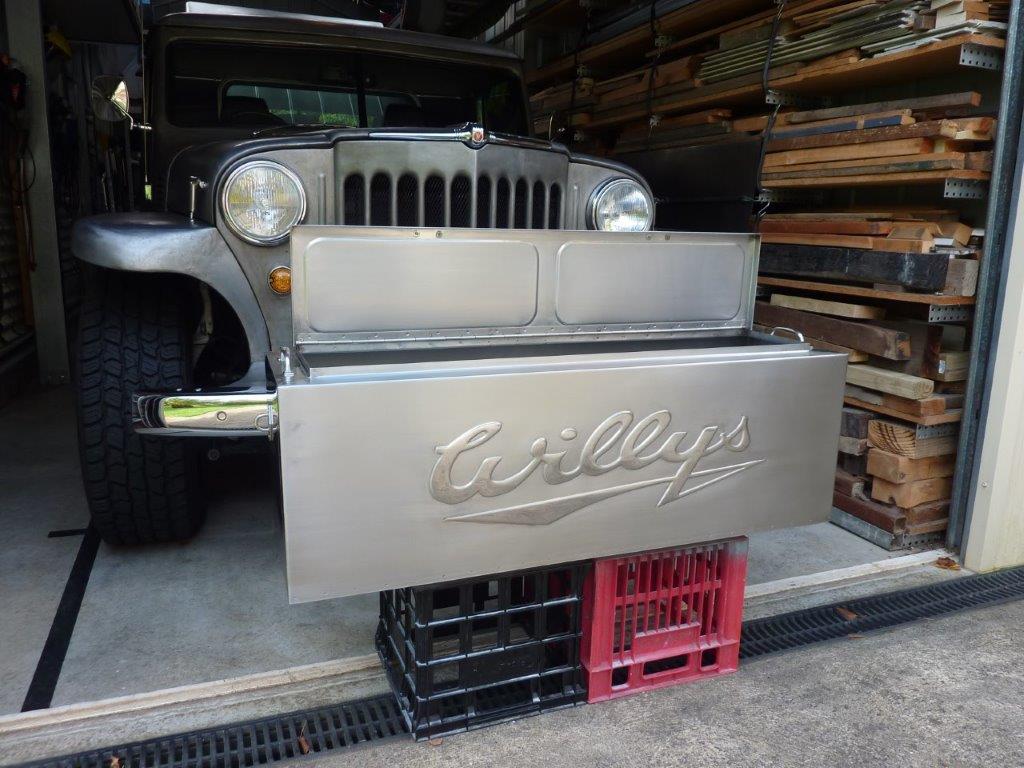
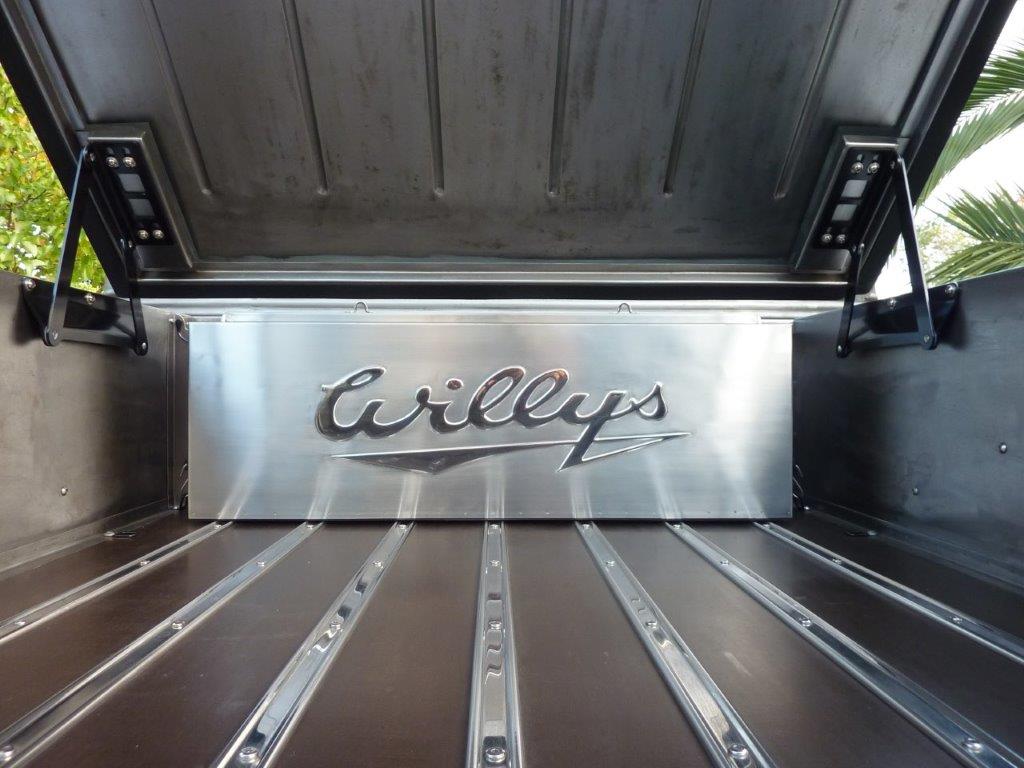
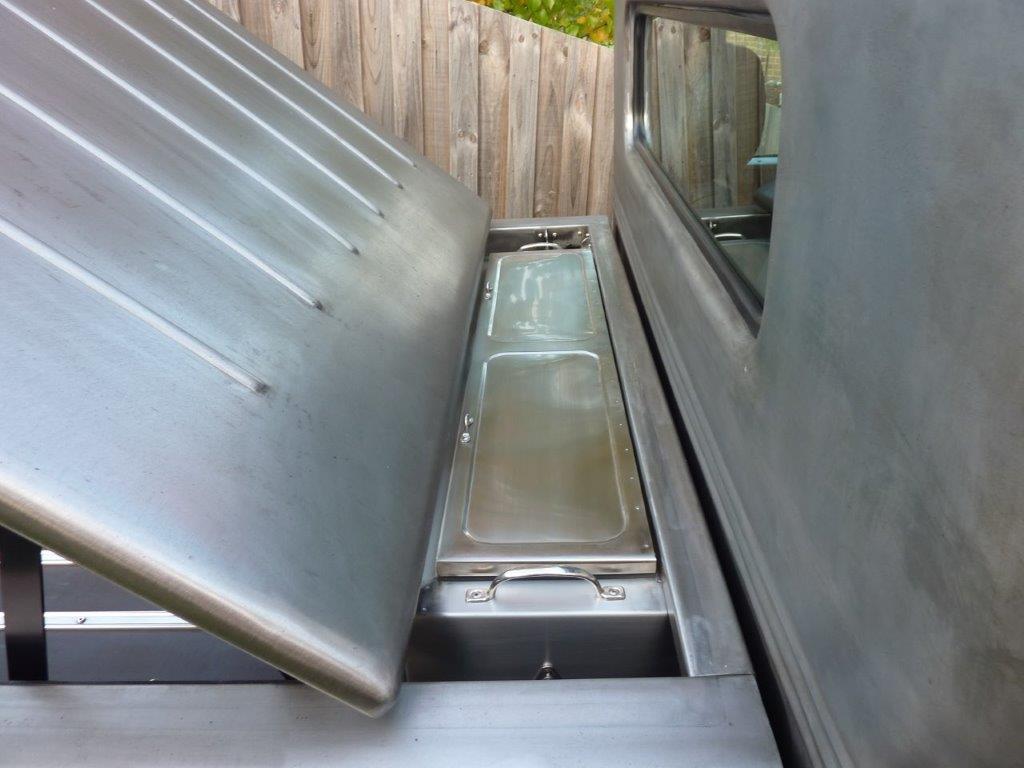
All finished! Handles are to carry it by and the small loops to hook a finger in to lift the lid. Have anchor fittings each end so it can be strapped down.

Image
The box was passivated using phosphoric acid as I don't have any nitric acid. Read it also works to stop the welded and areas worked with steel tooling from rusting.

Image
Sits nicely against the head board and tucks under its flange. Also against the fuel filler cover on one side and leaves enough room to attach the hold down straps at each end.

Image
The width of the chest was made so the opening would match how far the tonneau comes forward.

Image
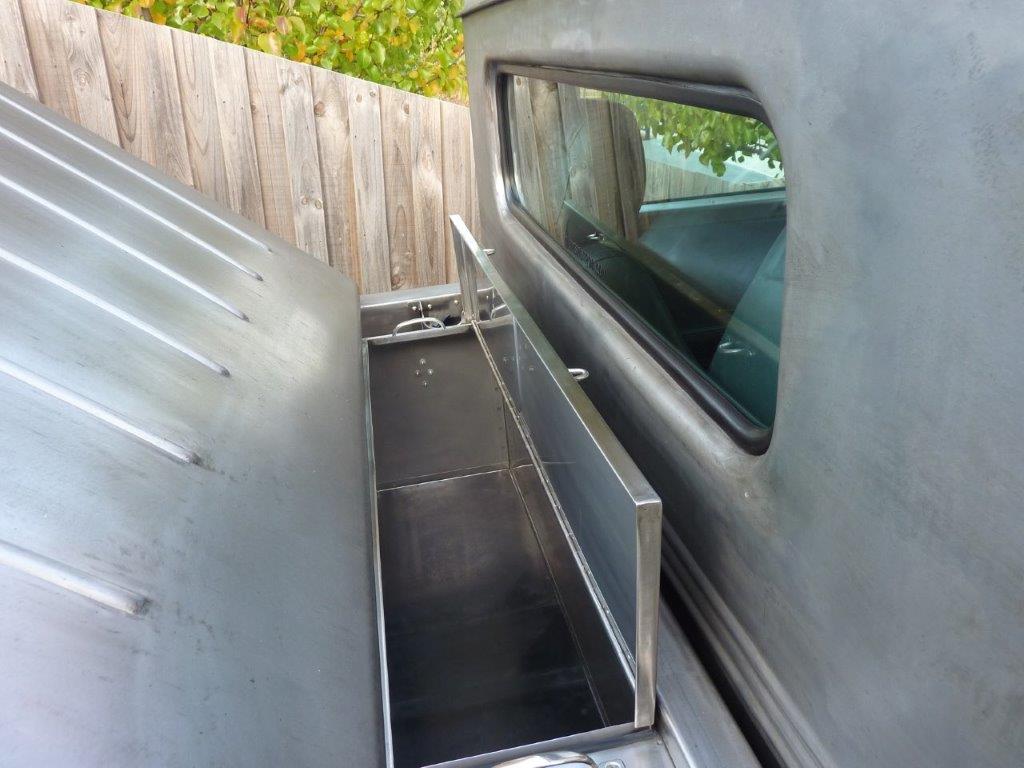
Easily accessible and have rubber lined the bottom also to slow things sliding around. Great place to put the shopping as now wont slide all over the floor. Can even fit a couple of folding chairs.
Marcus

To try where there is little hope, is to risk failure.
Not to try at all, is to guarantee it!


____| \______\
|/¯\ |¯ |----O||||O
()_)-o-)¯¯()_)-o-)_)
User avatar
Sly Fox
Senior Member
Posts: 1923
Joined: Sat Apr 24, 2010 7:10 pm
Location: Castle Hill, NSW

Re: Grand Willys Project

Post by Sly Fox »

Well, that job didn't take long, better than a bought one.

What's next, paint?
51 Dodge Custom & 63 EH Ute - Dare to be different
Post Reply