1943 Jeep "Budget Beater"

Go here for info on chassis construction, body work and suspensions
Post Reply
ShedBoy
Posts: 448
Joined: Sun Aug 04, 2013 10:19 am
Location: North Dandalup, Western Australia

Re: 1943 Jeep "Budget Beater"

Post by ShedBoy »

Taken a week off work and have committed a whole week to the jeep. Started with some Falcon seats I had laying around.
Image
Image
Image
Image
Channel through floor really firms up the floor, spreader plates for the floor bolts. After stting in it the position was comfy but the pedals were too low and the steering column was too short.
Image
Image
From the junk pile came a Ford courier colum which is 110mm longer and the spline on the bottom was the same as the uni from the Falcon intermediate shaft :D
Image
This section was turned a fraction so the column could slide through to go into the Falcon firewall mount with just a bearing change on the mount.
Image
Steering column mount, strong enough to hold but in emergency will move out the way with a shock.
Image
Image
News clutch pedal mount.
Image
Brake pedal raised up.
Image
Electric noise pedal in.

Bearing $12
Pedal bushes $11

Total $3103

Thanks for looking in.
Don't Follow Me I'm Lost Too
ShedBoy
Posts: 448
Joined: Sun Aug 04, 2013 10:19 am
Location: North Dandalup, Western Australia

Re: 1943 Jeep "Budget Beater"

Post by ShedBoy »

Next problem to sort was the gear stick location, I originally changed to and S10 extension housing on the T5 but now it is too far forward. Box back out to change top cover and ext housing.
Image
Bought a new clutch from a mate for $150
Image
Image
Fixed another issue this box had which was a missing roller from this bearing set, pulled on out of a junk box I had laying around.
Image
Hole cut for new stick location.
Image
Trans crossmember modified to suit different mount and location.
Image
Cable comes up a bit short but should be an easy fix, something to ponder.
Image
First time I pull the clutch in this fails, some phone calls and they range from $100 to $150. Dellow make a non dampened version but I do not want to wait and I have tools, so...
Image
Image
Image
2 hours of drilling, turning, milling and filing produced this, holds in with a circlip and cost nada.

Thanks for looking in and sorry for being so quite,, I am a bit of a hermit these days like most people at the moment, but I rarely do much more than work in my shed and go to work.

Clutch kit $150
S10 housing removed -$420 Will be used on something else.

Cost $2833

Brock
Don't Follow Me I'm Lost Too
User avatar
Gojeep
Old Hand
Posts: 7219
Joined: Mon Jan 07, 2008 1:24 pm
Location: Eastern Suburbs of Melbourne
Contact:

Re: 1943 Jeep "Budget Beater"

Post by Gojeep »

Great to see you back on it Brock.
Nice job on making you replacement part too. More satisfaction too!
Marcus

To try where there is little hope, is to risk failure.
Not to try at all, is to guarantee it!


____| \______\
|/¯\ |¯ |----O||||O
()_)-o-)¯¯()_)-o-)_)
ShedBoy
Posts: 448
Joined: Sun Aug 04, 2013 10:19 am
Location: North Dandalup, Western Australia

Re: 1943 Jeep "Budget Beater"

Post by ShedBoy »

Thanks for the comments.
Image
Image
Simple trans tunnel.
Image
Image
Handbrake assembly from a Ford Courier.
Image
Image
Image
Cowl going on and some rust repairs.
Image
Everything fits just
Image
Image
Image
Jeep windscreen mounts from India, they have backing plates inside the cowl they bolt to.
Image
Hold down latches from India, must have been done on a Friday Arvo.
Image
How they attach once fettled into being usable
Image
Image
The hook which the latches go to, Quality control there but they are just UNC so easy fixed.
Image
Not much room for a battery so I will sink this in here for a mount eventually.
After installing the windscreen the seats are a bit to high and some mates were ribbing me about seats looking wrong so :roll:
Image
Cardboard mock up, alot to wide.
Image
Image
The start of new seats
Image
Image
Image
Image
Holes done with hydraulic radio punch.
Image
Bending 2mm ali by hand is hard work.

windscreen hinges $13
Windscreen Latches $18
Seat Ali $ 127 but have heaps left over for dash etc.

Cost $2991
Thanks for looking in :)

Brock
Don't Follow Me I'm Lost Too
SimonG
Posts: 499
Joined: Wed Jan 20, 2016 3:56 pm
Location: Cairns, Nth Queensland

Re: 1943 Jeep "Budget Beater"

Post by SimonG »

Great work Brock, just fitting the windscreen makes a huge difference and gives it some character.

You can always rely on mates for honest feedback, even if it does create more work, so I hope the seats give it a better look.
ShedBoy
Posts: 448
Joined: Sun Aug 04, 2013 10:19 am
Location: North Dandalup, Western Australia

Re: 1943 Jeep "Budget Beater"

Post by ShedBoy »

Always wanted to build some bomber style seats but never had a reason. These are coming out okay. So many different styles though, leaves alot of artistic leeway.

Brock
Don't Follow Me I'm Lost Too
User avatar
Gojeep
Old Hand
Posts: 7219
Joined: Mon Jan 07, 2008 1:24 pm
Location: Eastern Suburbs of Melbourne
Contact:

Re: 1943 Jeep "Budget Beater"

Post by Gojeep »

Doing well there mate. :)
Marcus

To try where there is little hope, is to risk failure.
Not to try at all, is to guarantee it!


____| \______\
|/¯\ |¯ |----O||||O
()_)-o-)¯¯()_)-o-)_)
User avatar
jailbar joe
Old Hand
Posts: 3440
Joined: Sat Oct 24, 2009 8:33 pm
Location: york west aus

Re: 1943 Jeep "Budget Beater"

Post by jailbar joe »

a lot of good progress happening and lots of clever stuff...well done :D
cheers joe

if you do nothing then nothing happens
ShedBoy
Posts: 448
Joined: Sun Aug 04, 2013 10:19 am
Location: North Dandalup, Western Australia

Re: 1943 Jeep "Budget Beater"

Post by ShedBoy »

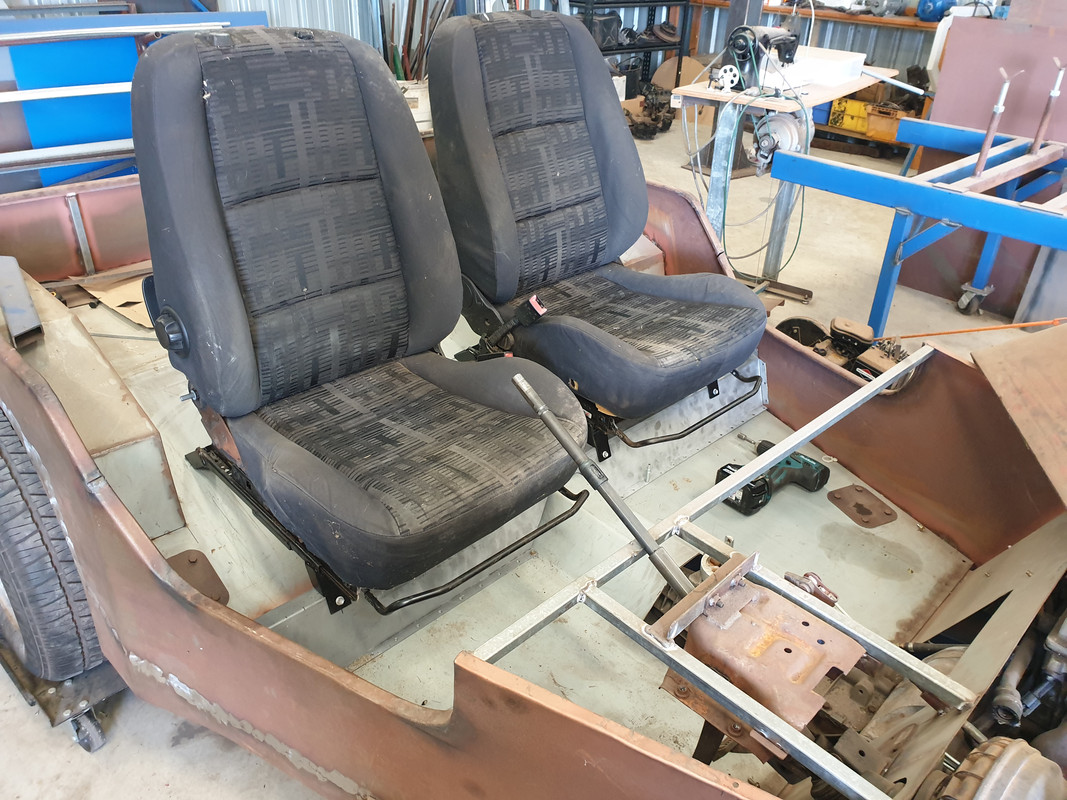
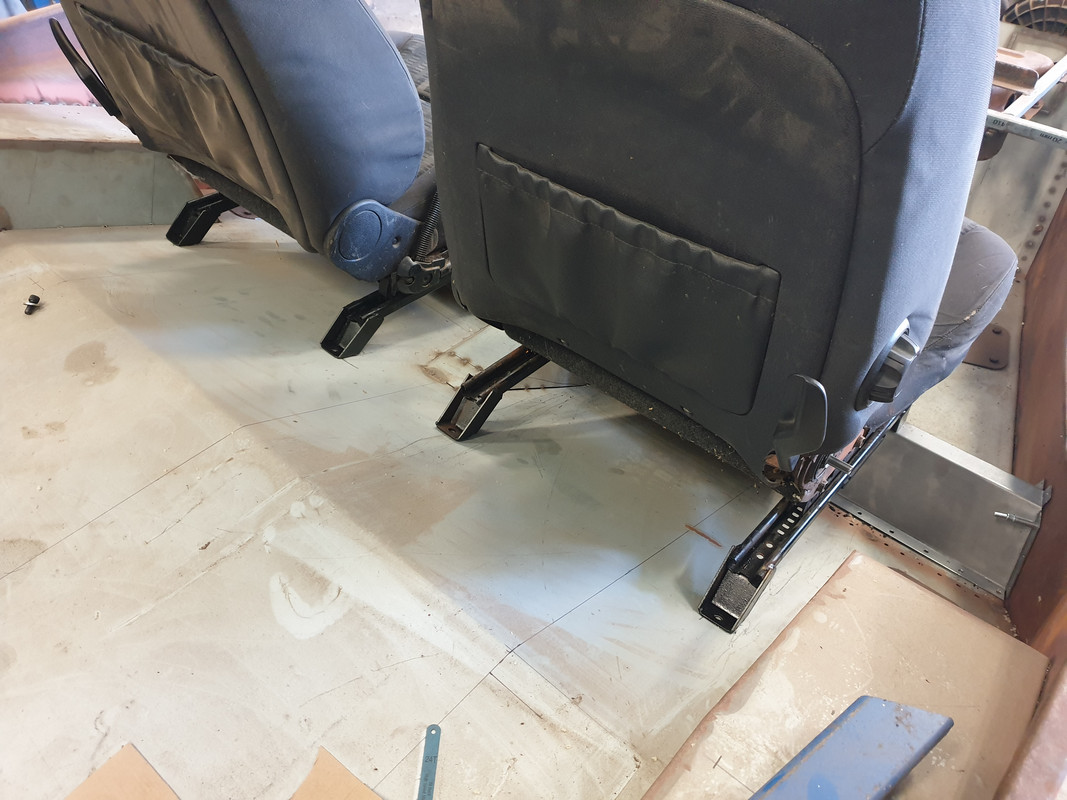
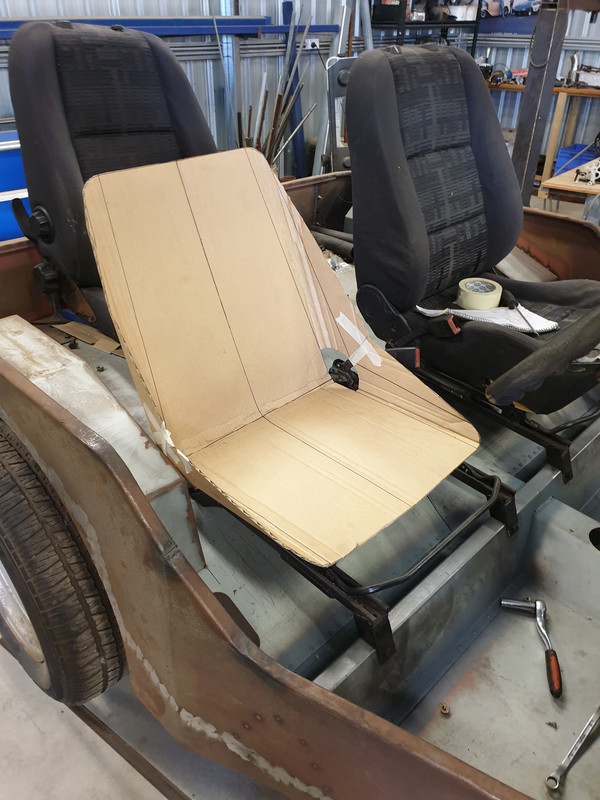
Thanks for the comments and encouragement. Got some more work done on the seats.
Image
Image
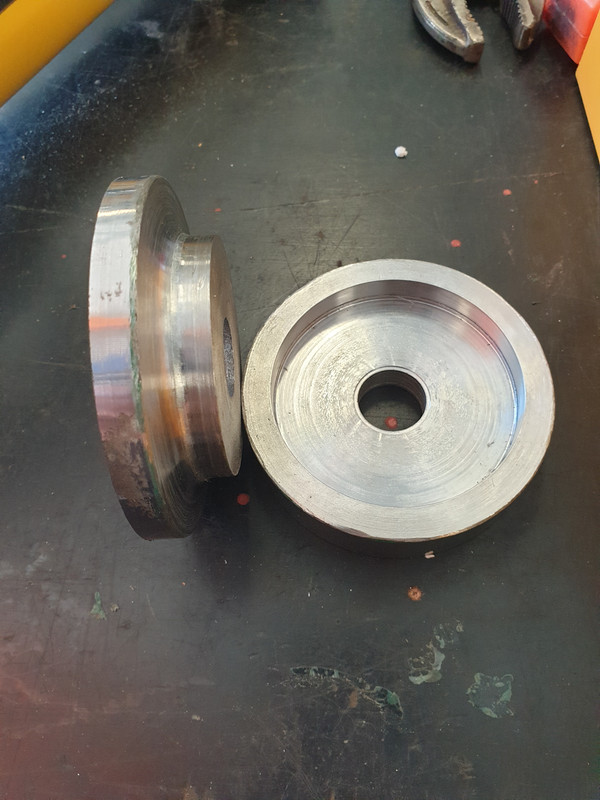
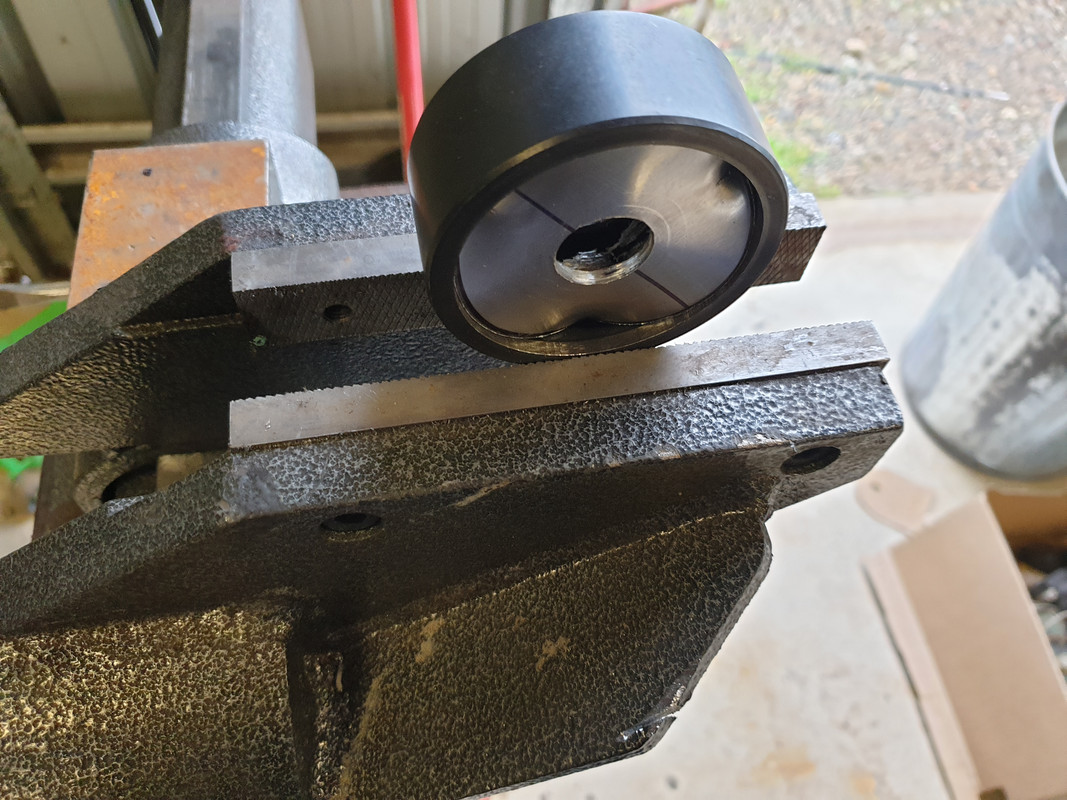
Turned up some simple flaring tools. Had to make a receiver for the biggest one but on the others just use the next size up die.
Image
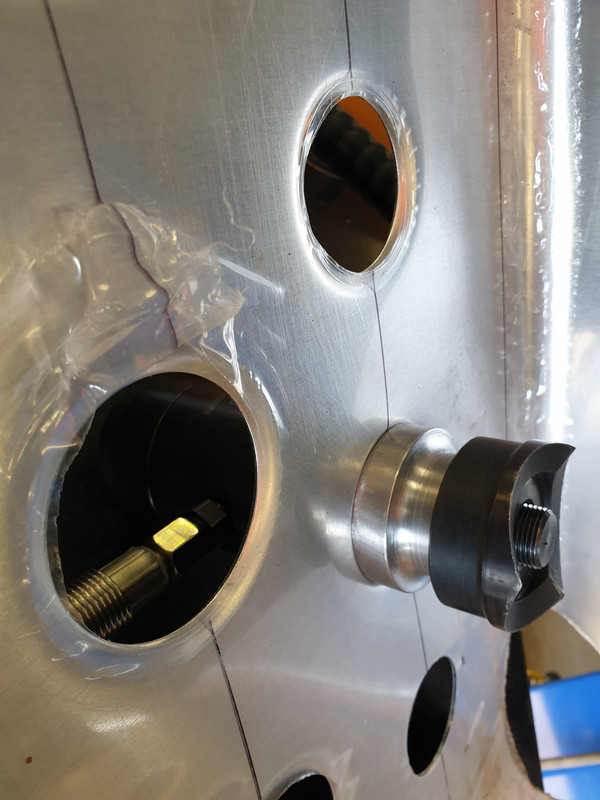
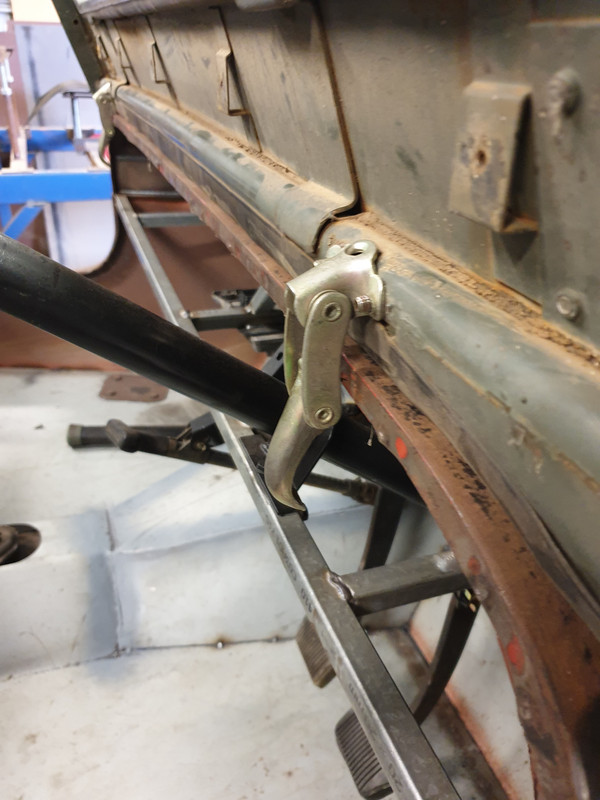
Here it is in use, they add a bit of stiffness but mainly for looks.
Image
I think they look okay.
Image
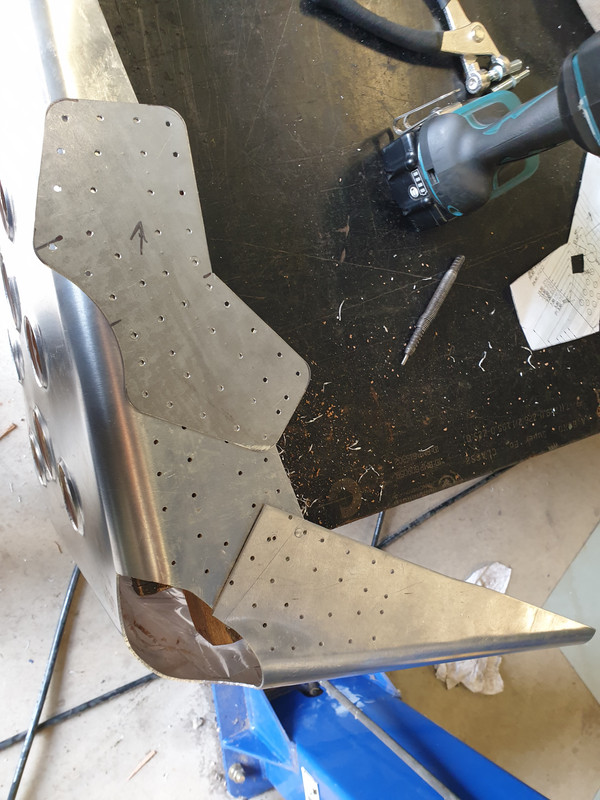
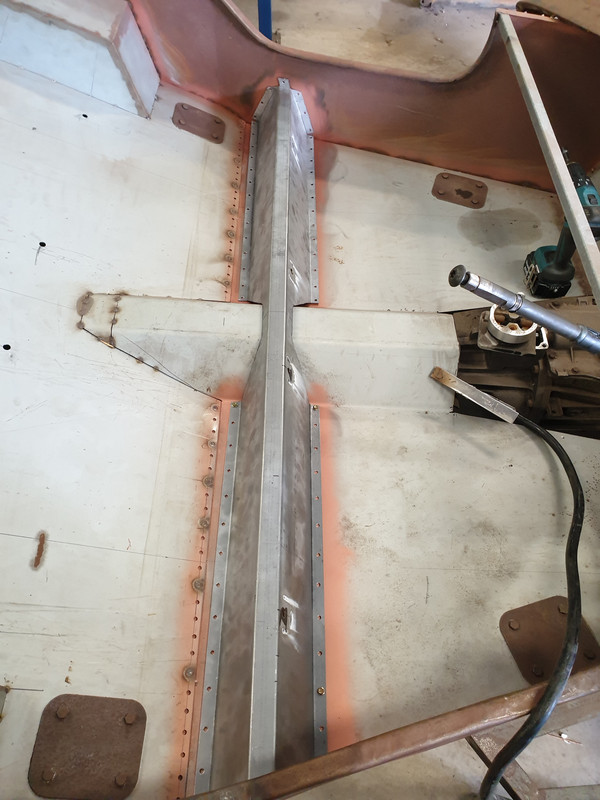
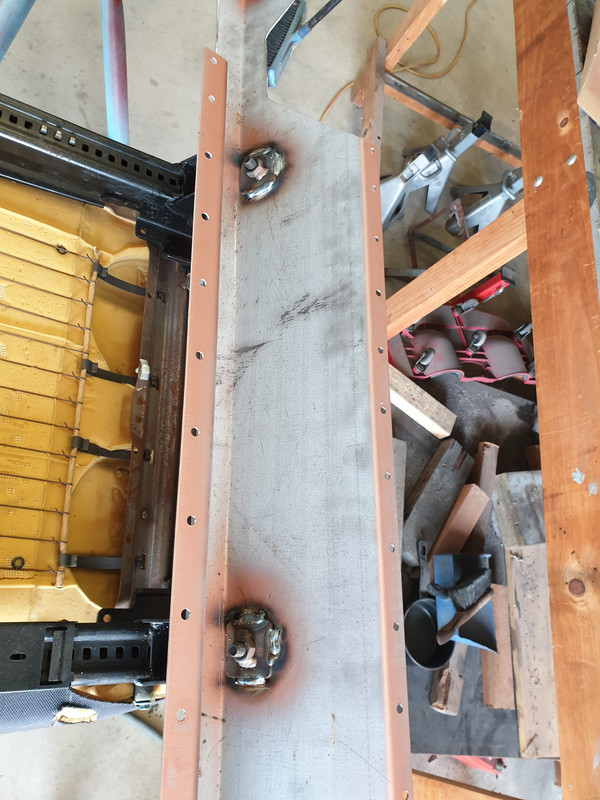
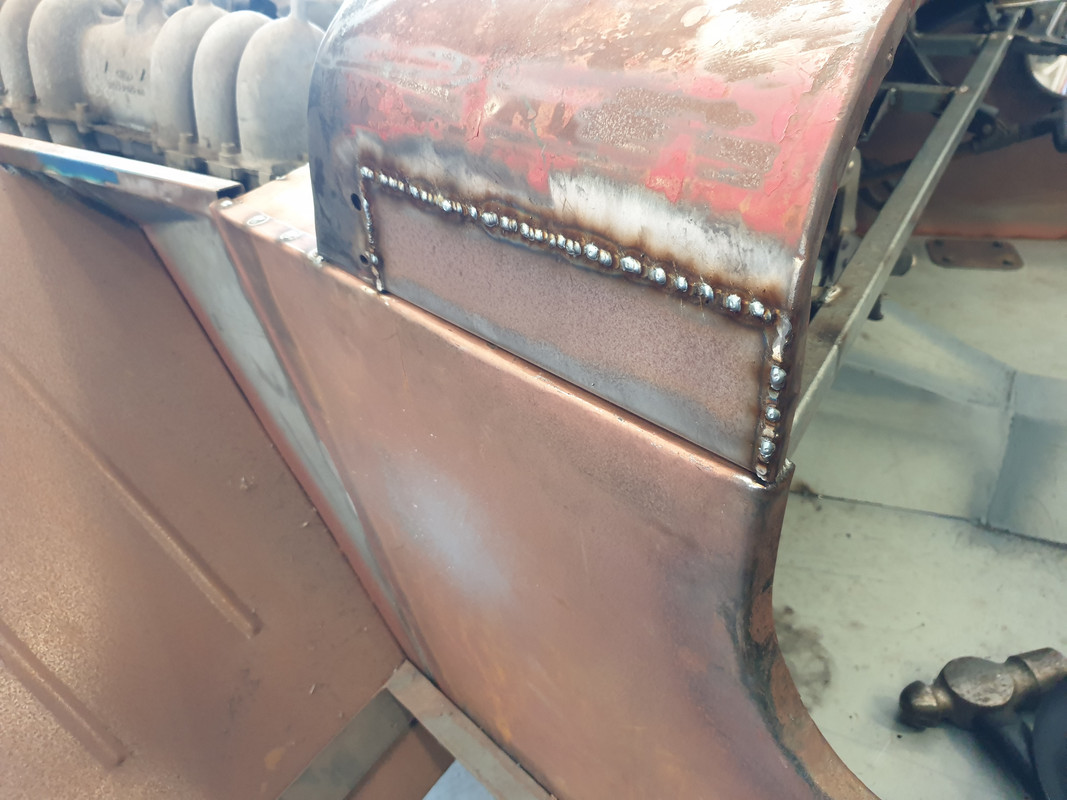
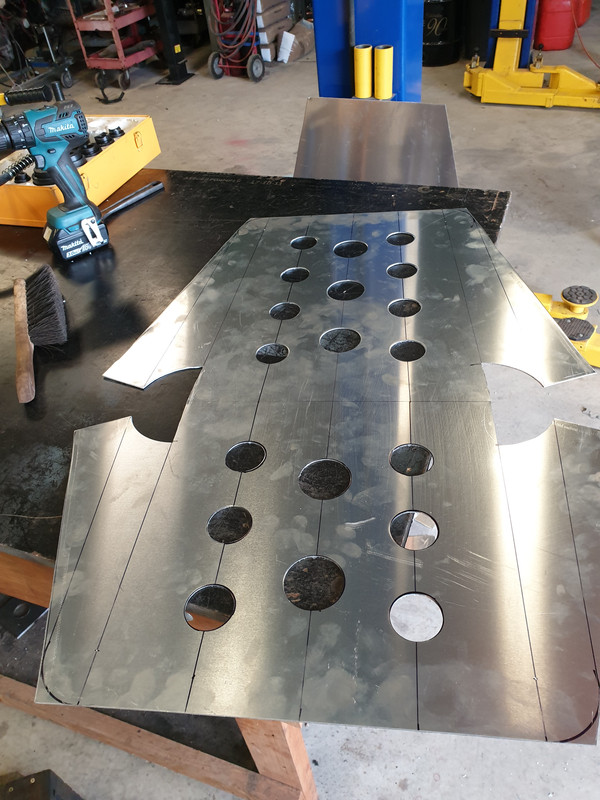
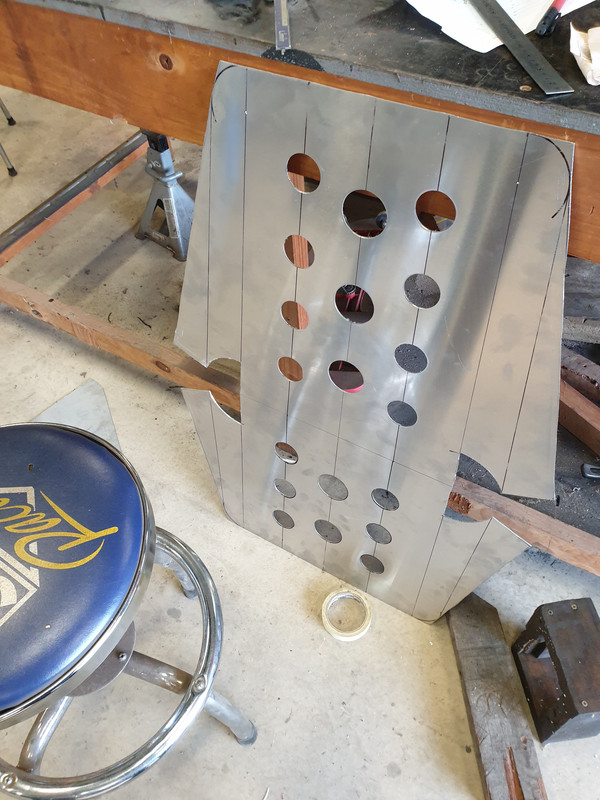
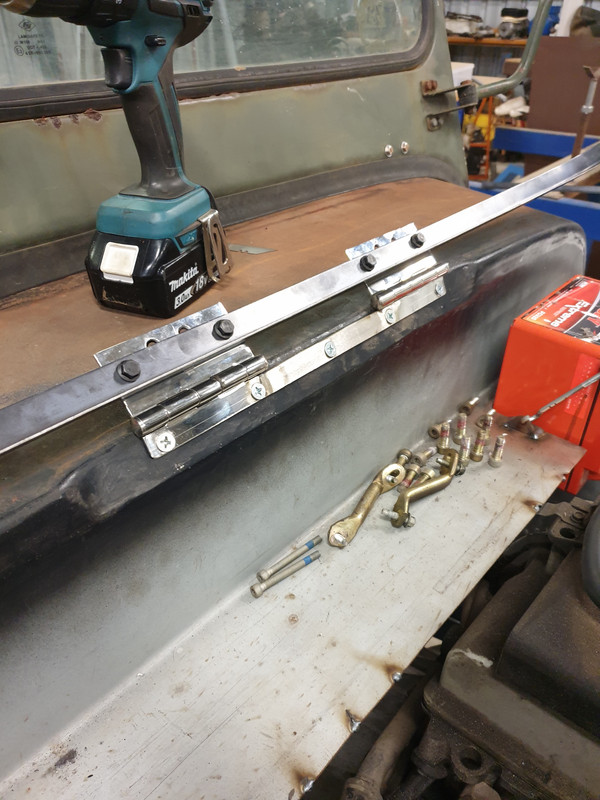
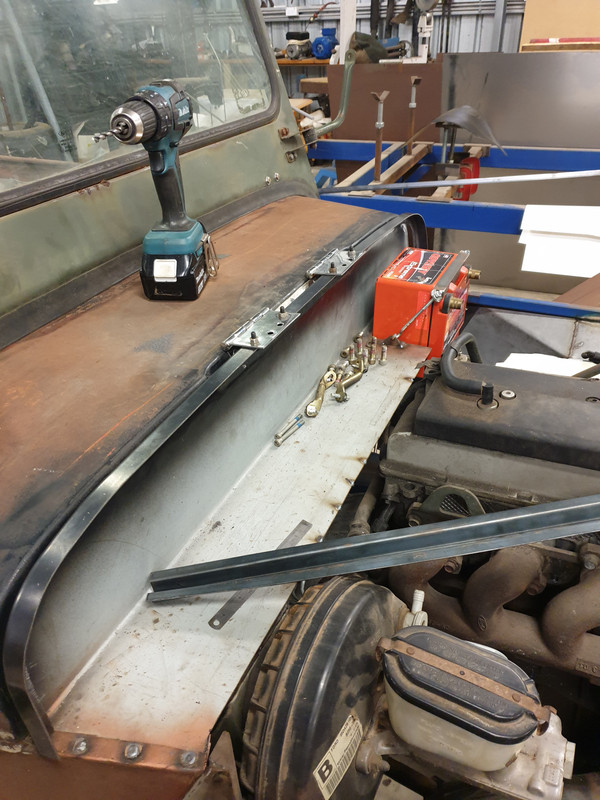
Whats a ali seat without rivets and I have always wanted to have a go at it so decided to do the side supports / joins with them.
Image
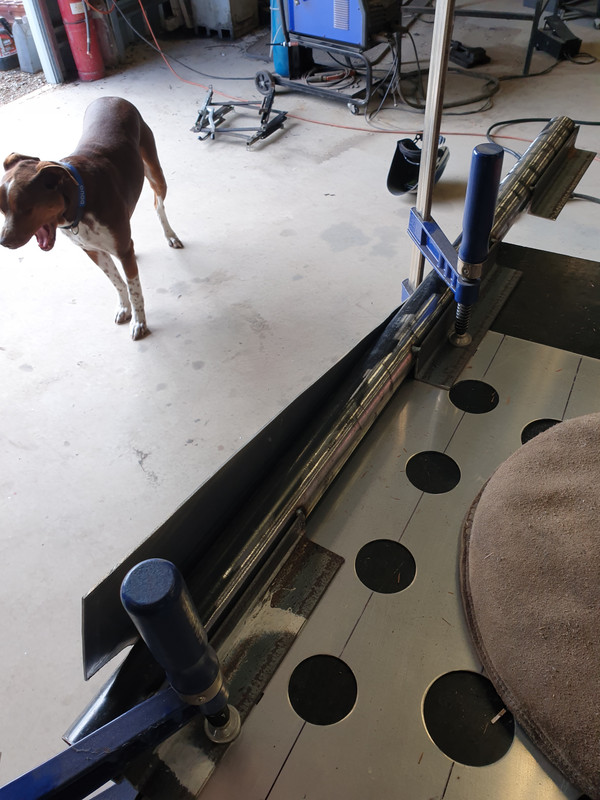
Gang made some plates with a steel template to drill all the same.
Image
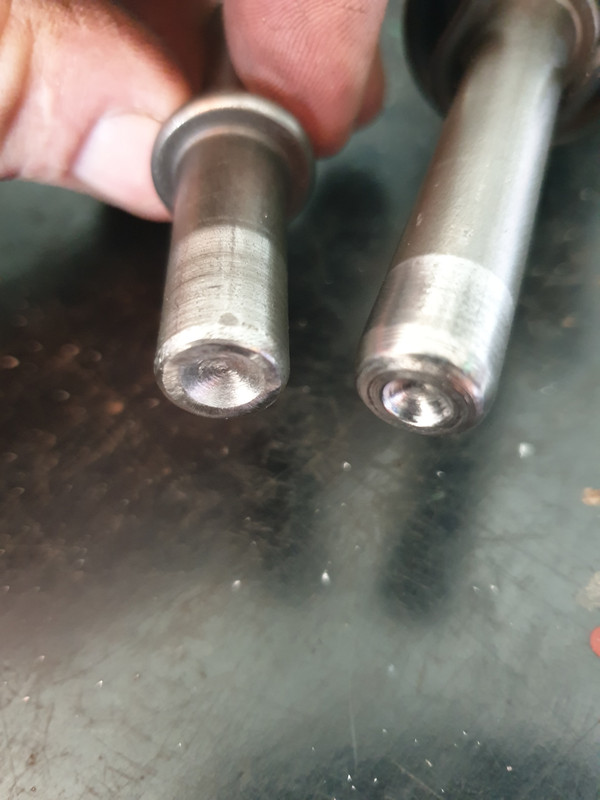
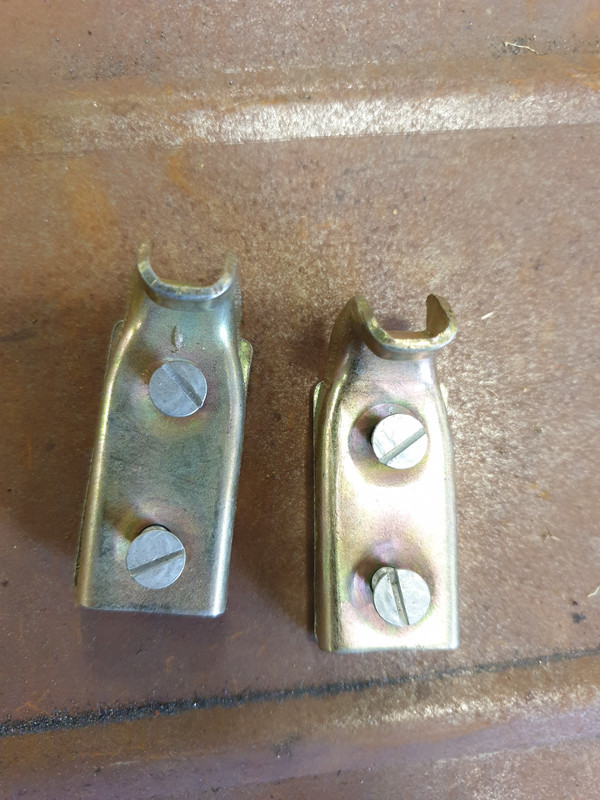
Modified an air chisel tool to make what I found out is called a rivet snap. First on the left was a bit of a fail, the one on the right I turned on the lathe and made the dimple with a ball nose mill. A lot neater result.
Image
Image
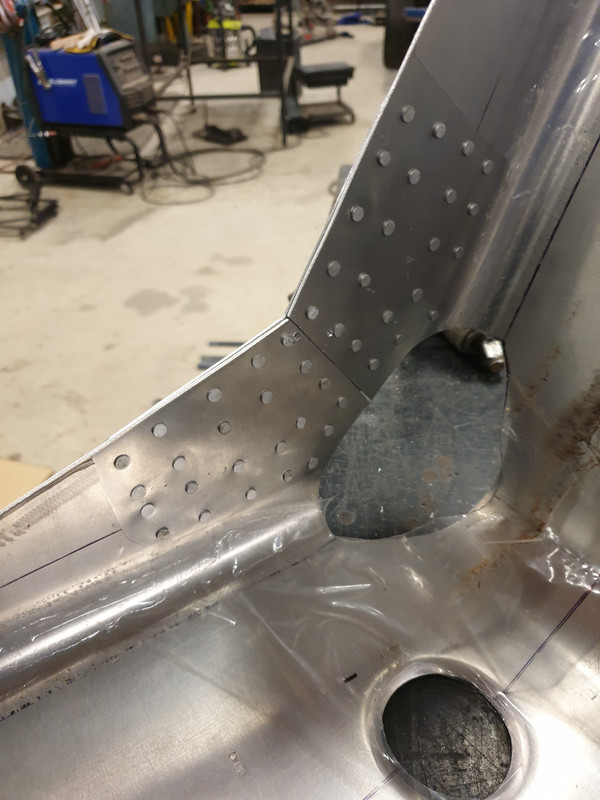
Just got to mount them to the seat runners. Riveting is fun but people who do this on planes are on a different level I reckon.
Image
Image
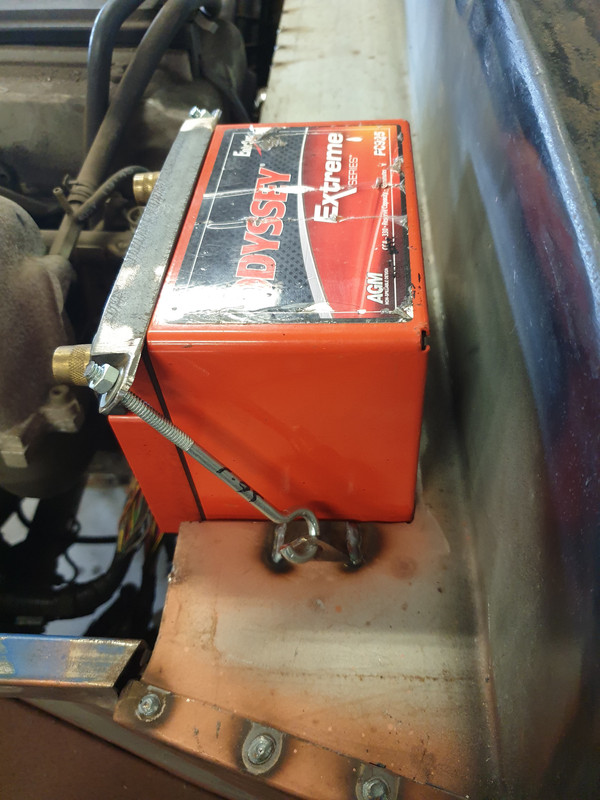
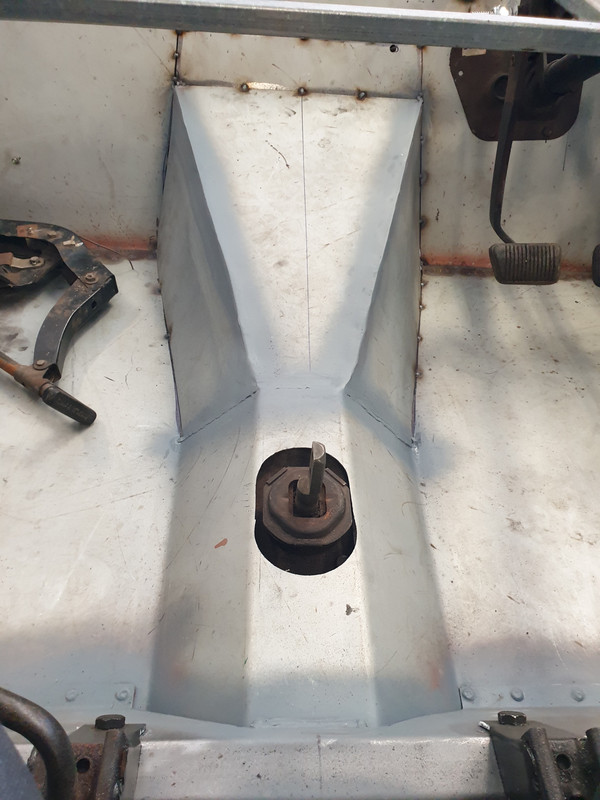
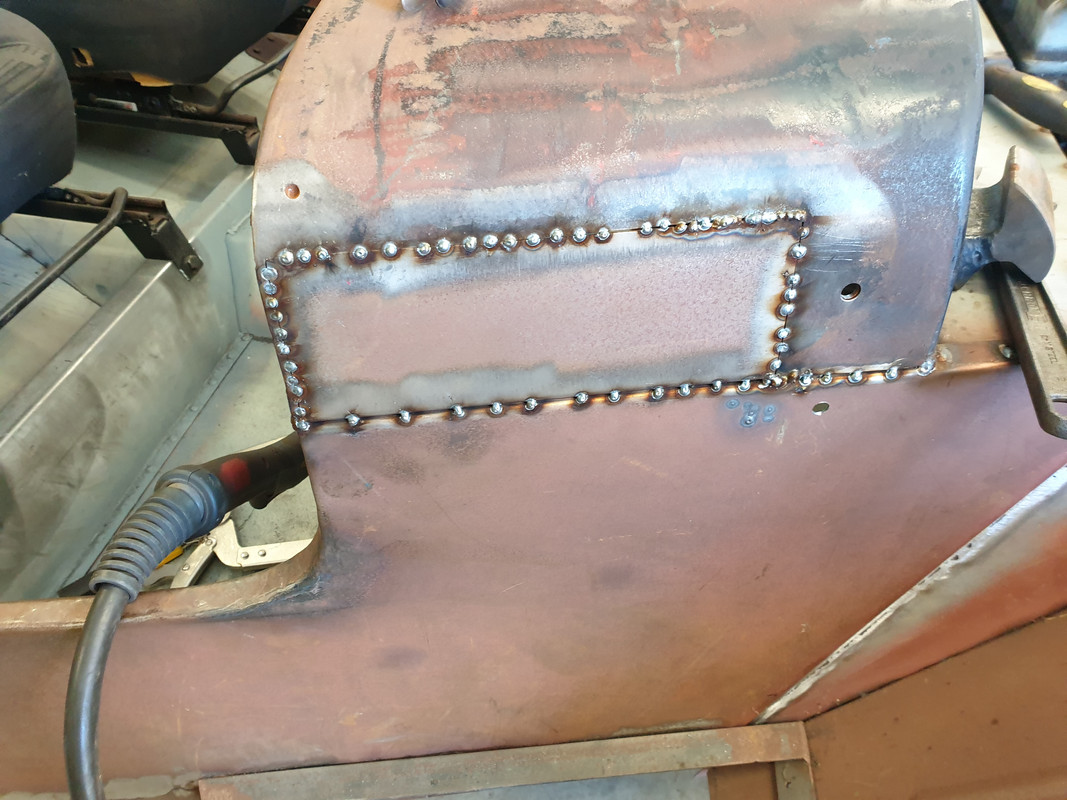
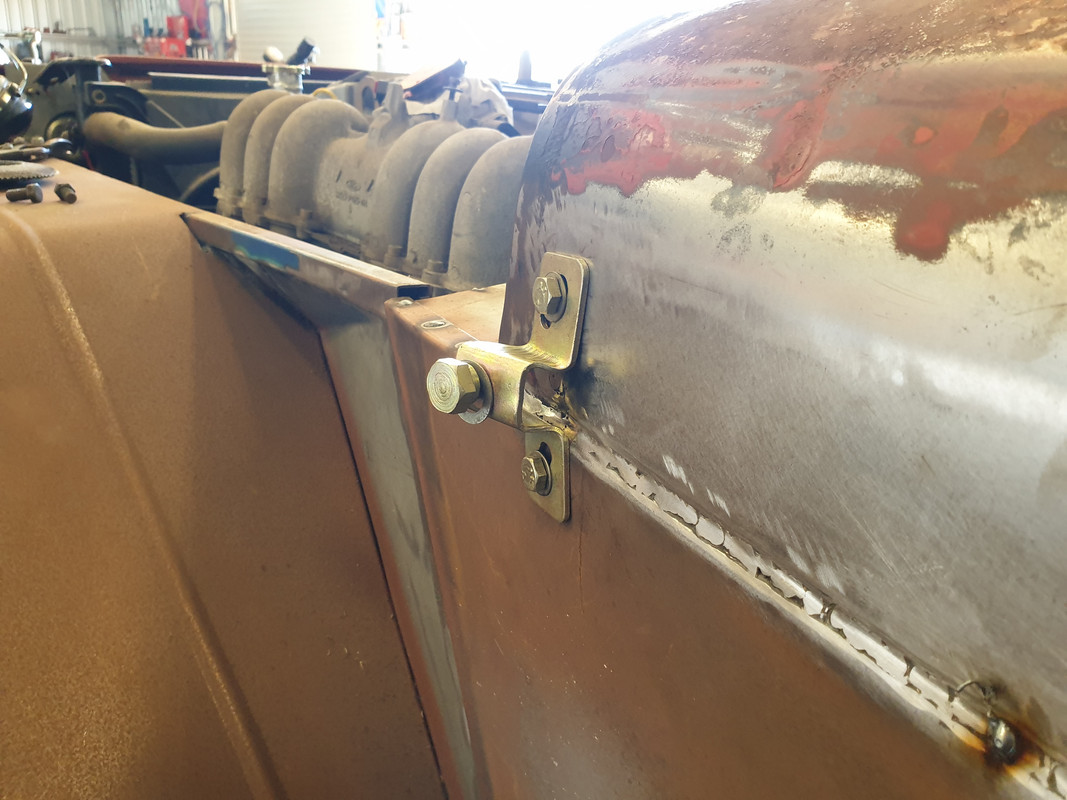
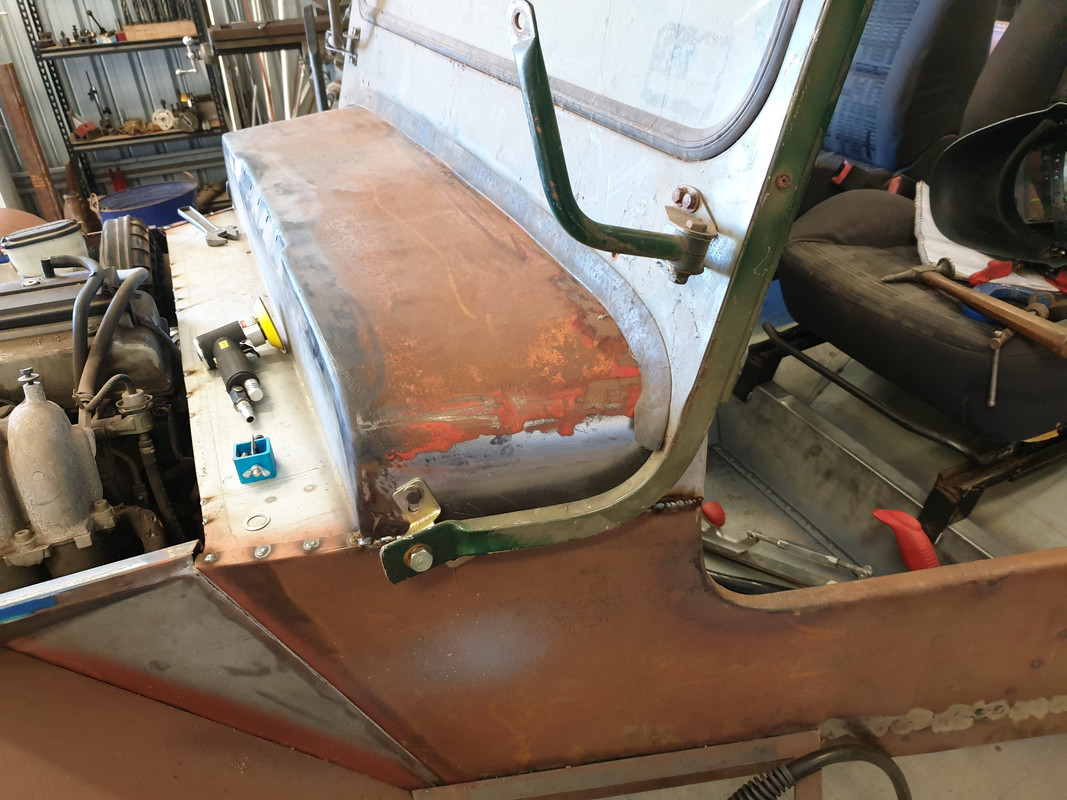
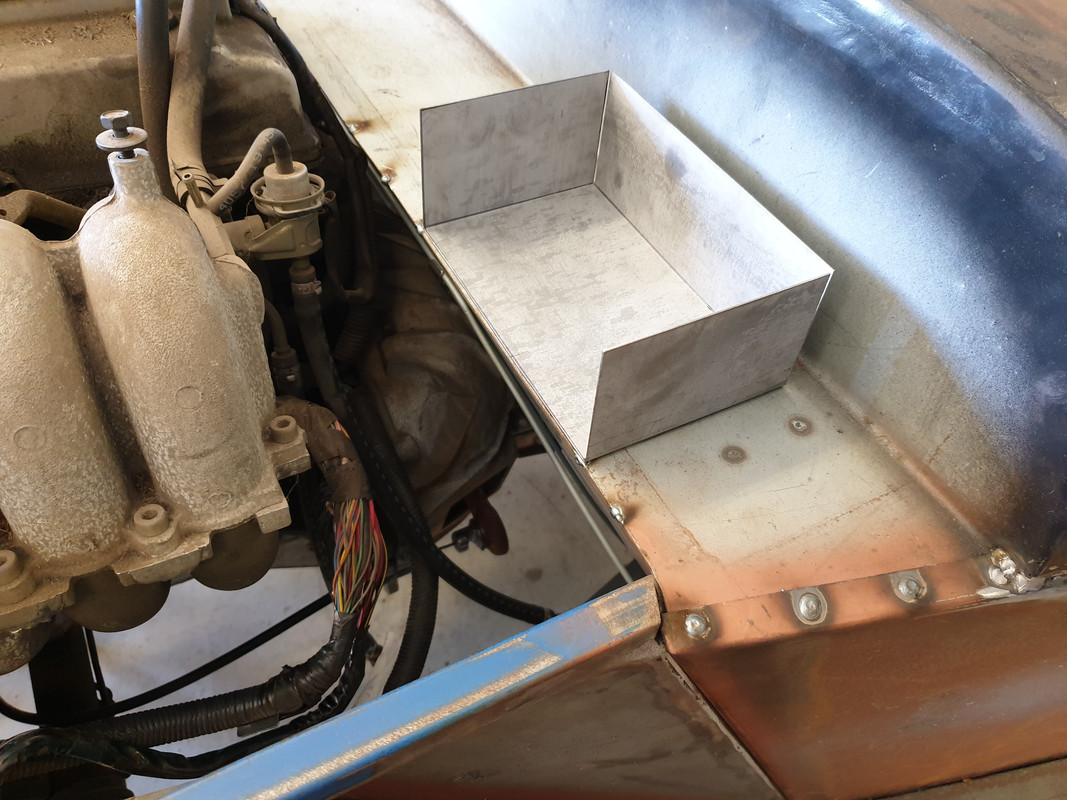
Battery box is welded in and clamp made. Had to go with a small battery as I am running out of space.
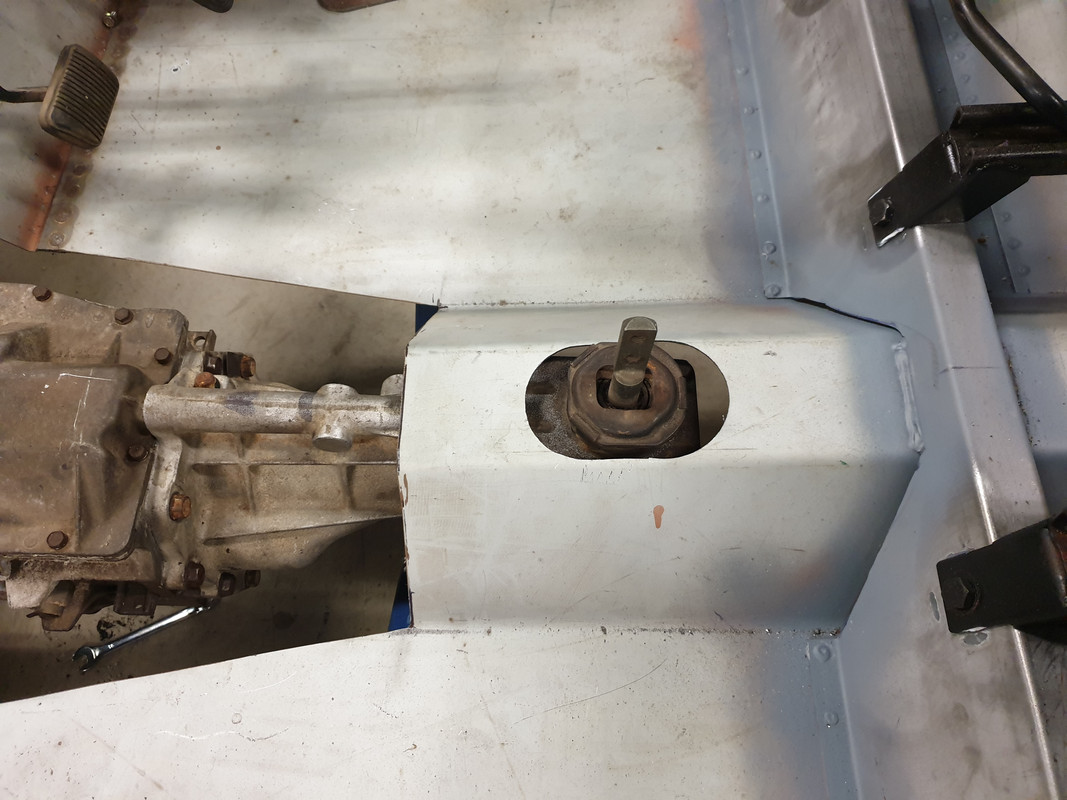
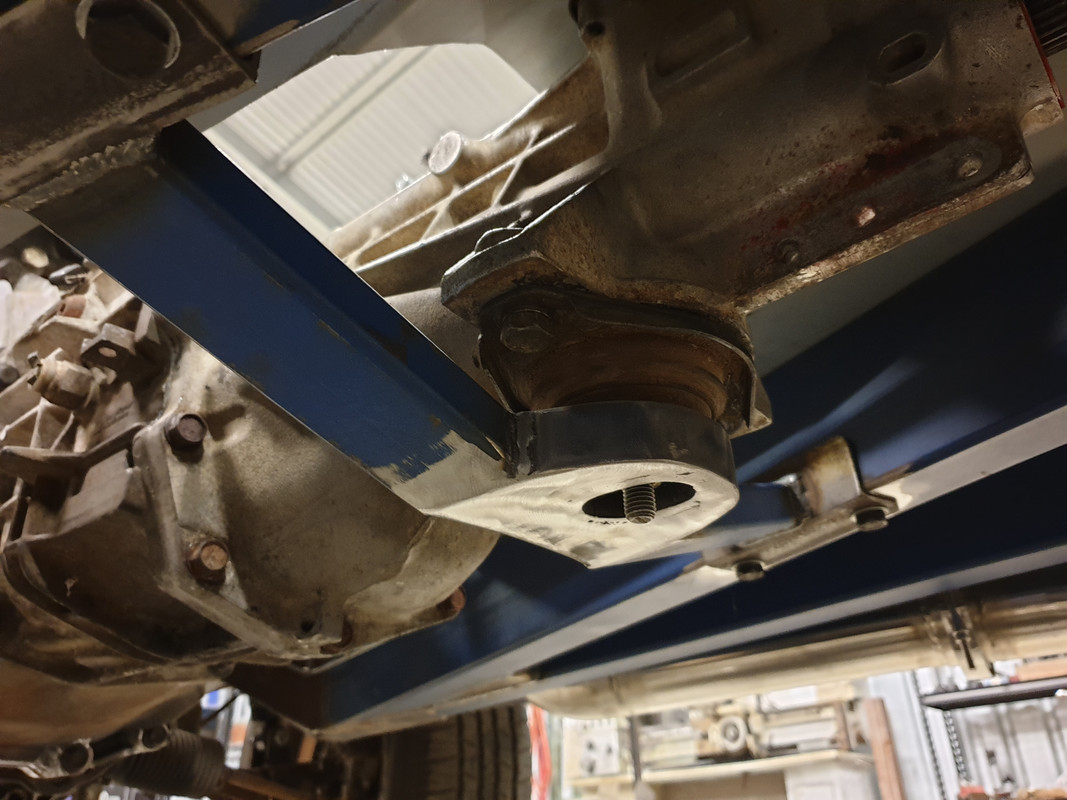
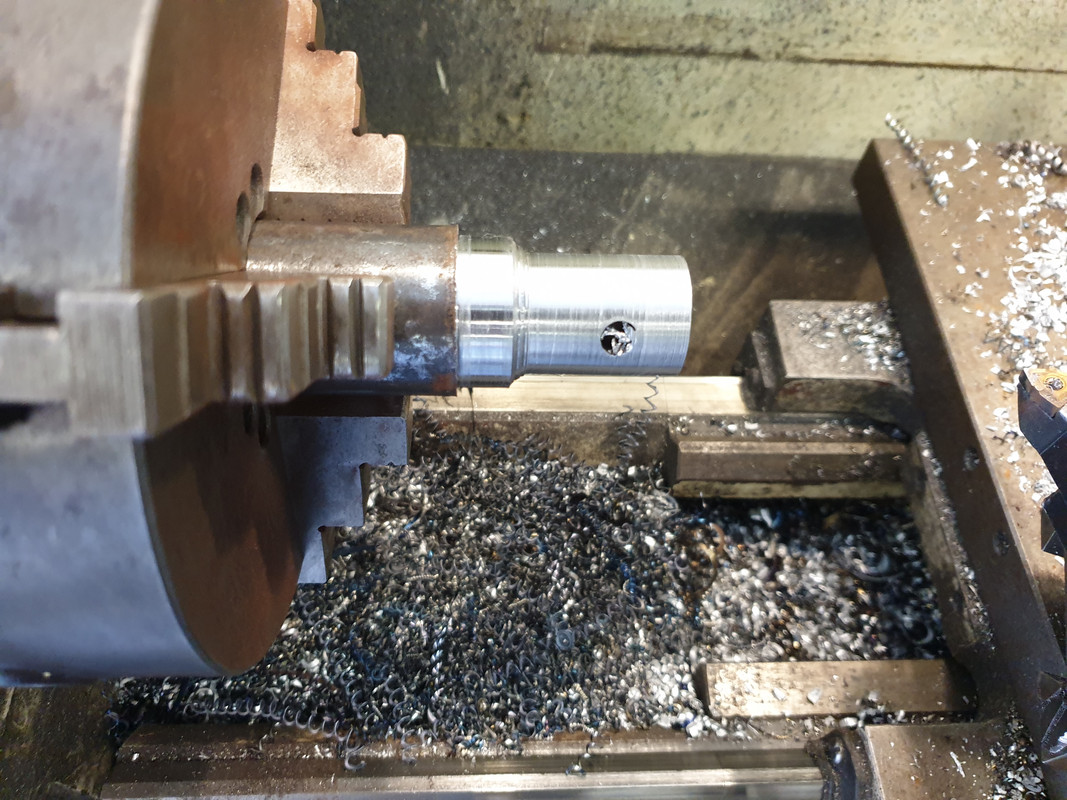
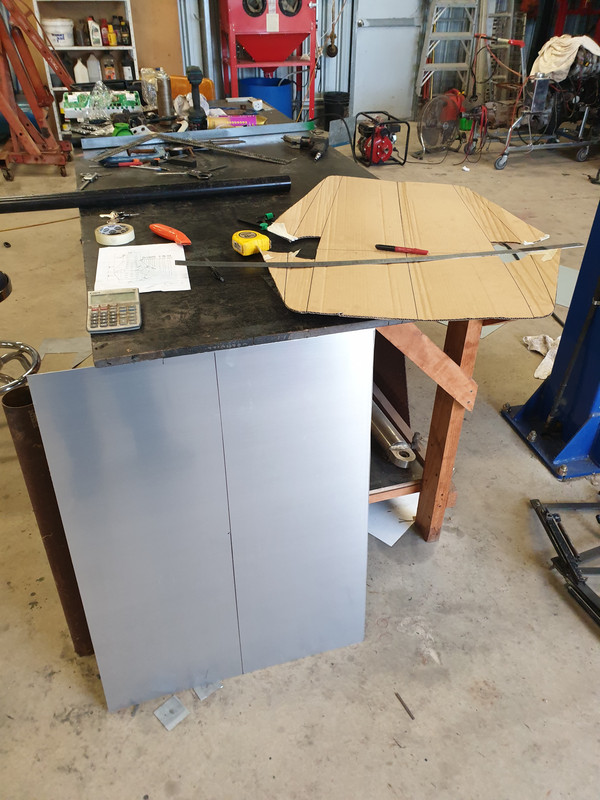
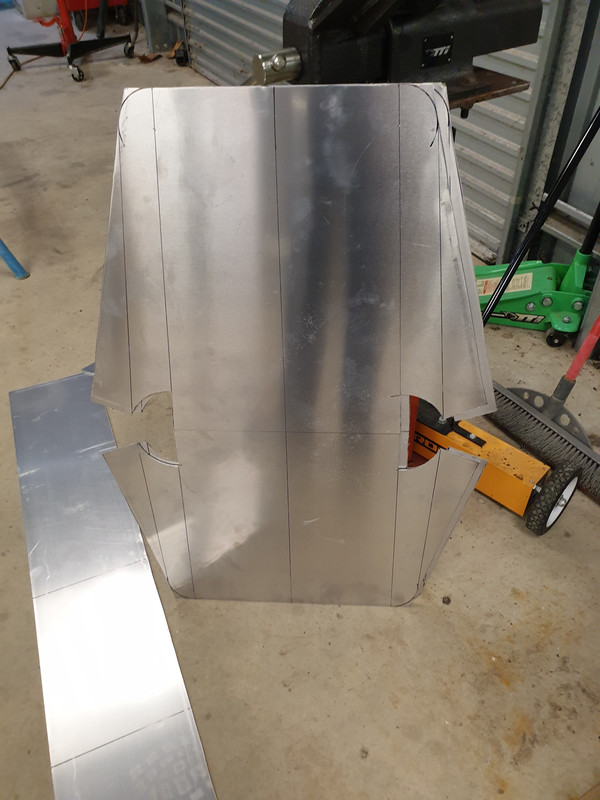
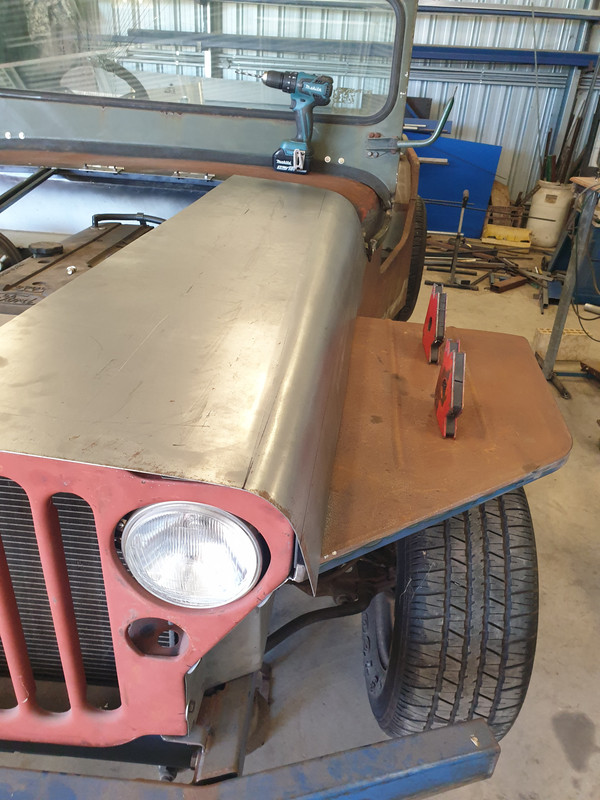
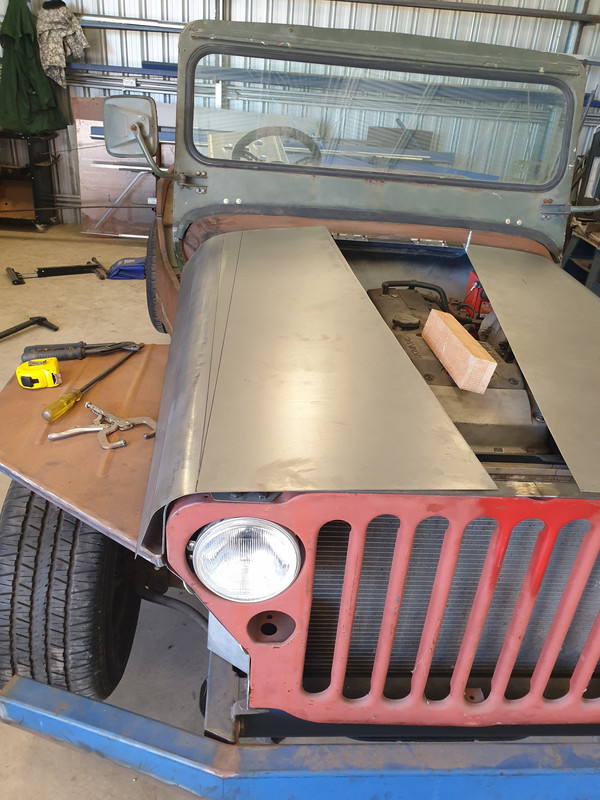
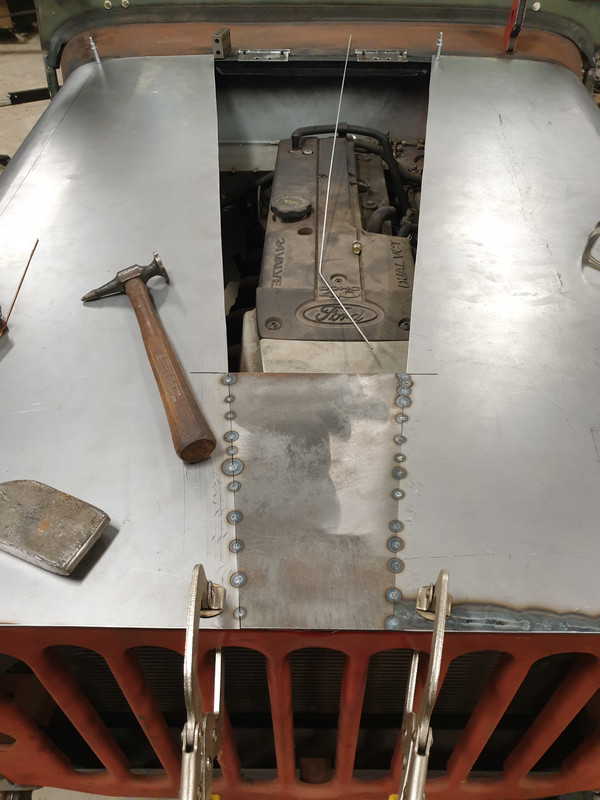
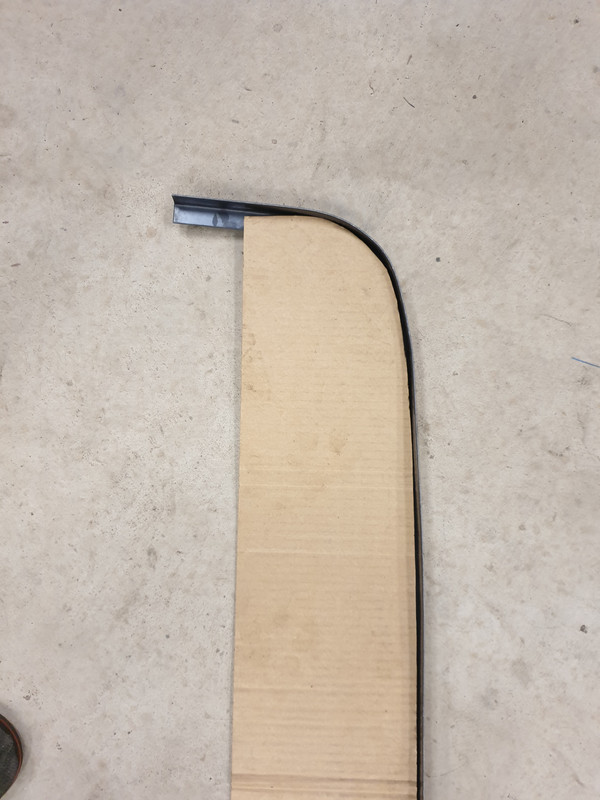
While waiting for part for the seat mount to arrive I started thinking about a bonnet. Decided to have a go at a steel bonnet so I got some 2mm sheet folded into angle and a small top hat section to make an inner structure.
Image
Image
Image
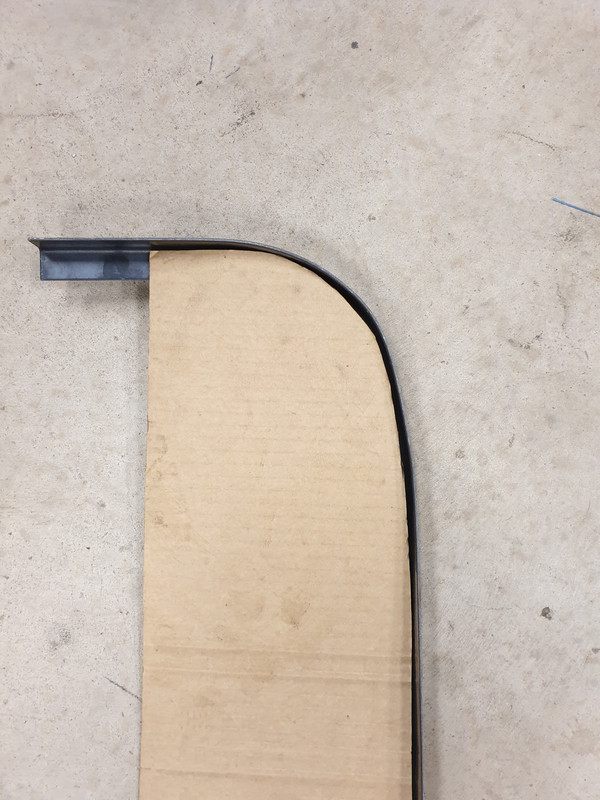
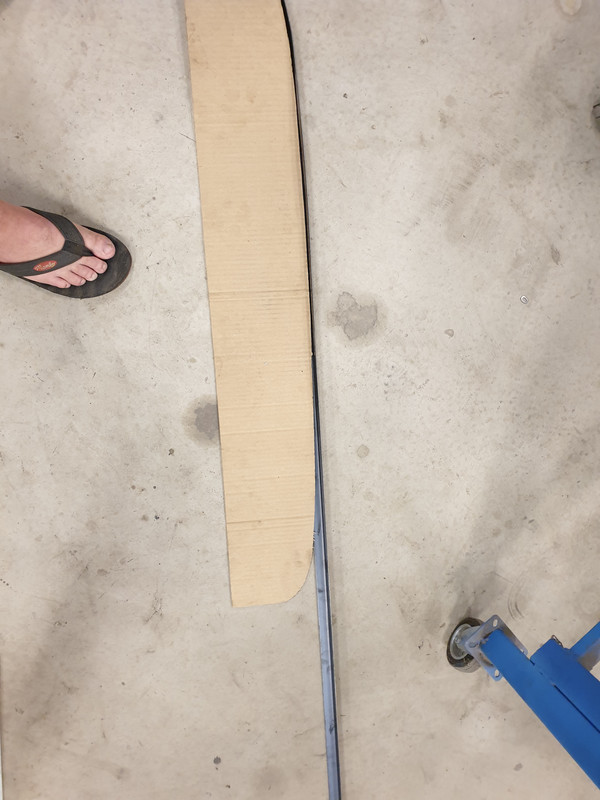
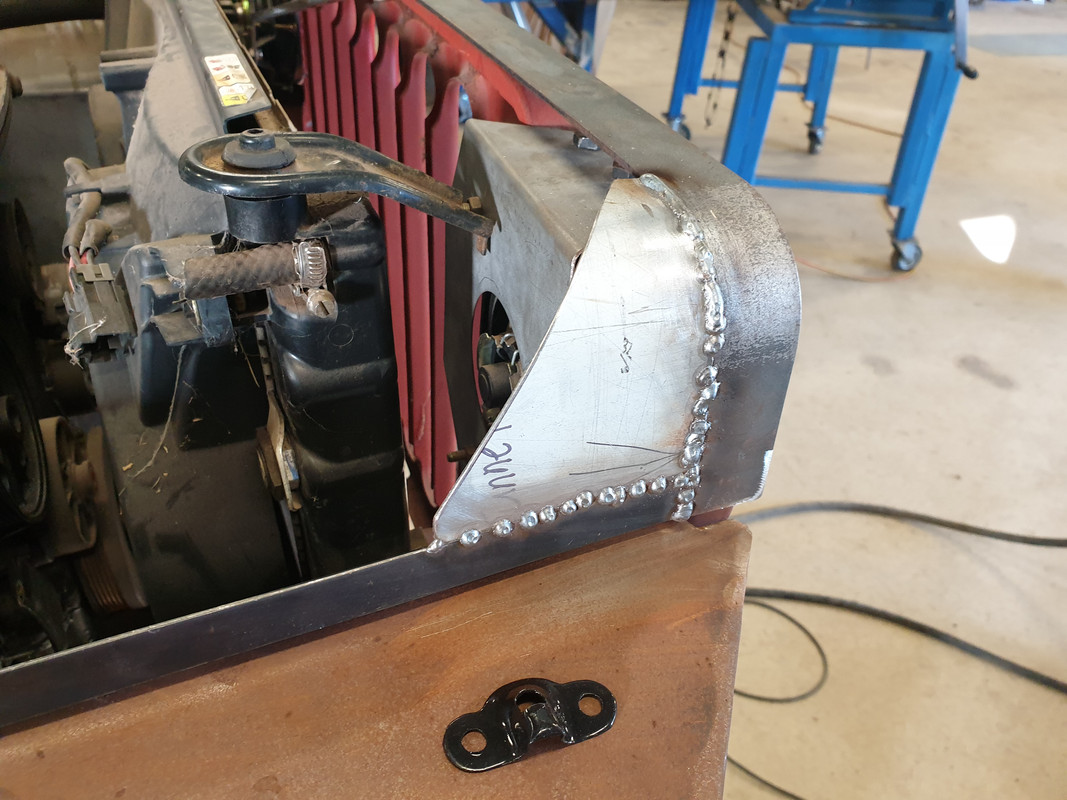
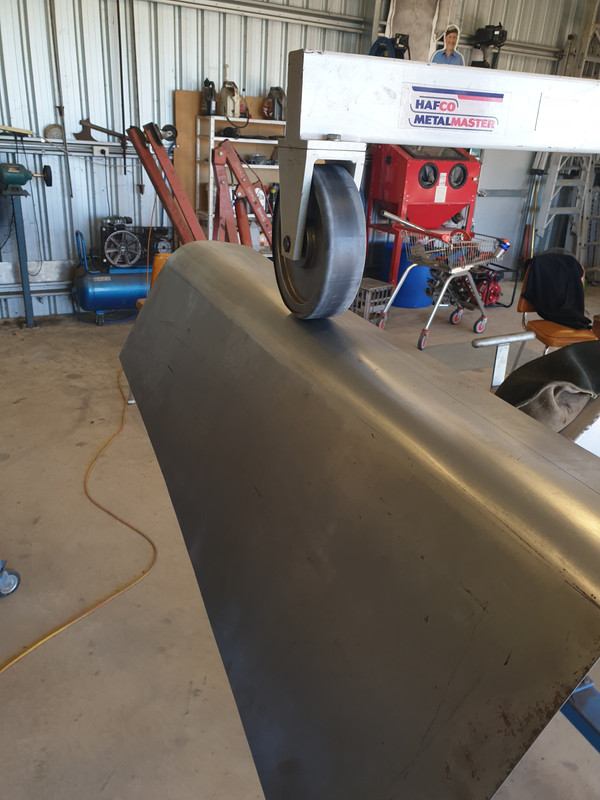
After making a template of the shape of the cowl at the back of the bonnet I started shrinking the corners, my nachine is only rated at 1.6mm but seemed to do okay on 2mm. First side done.
Image
Image
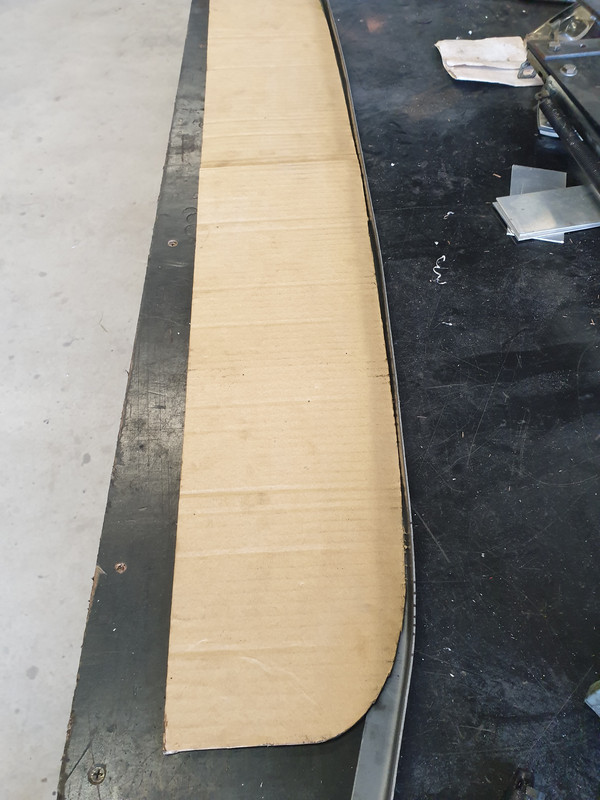
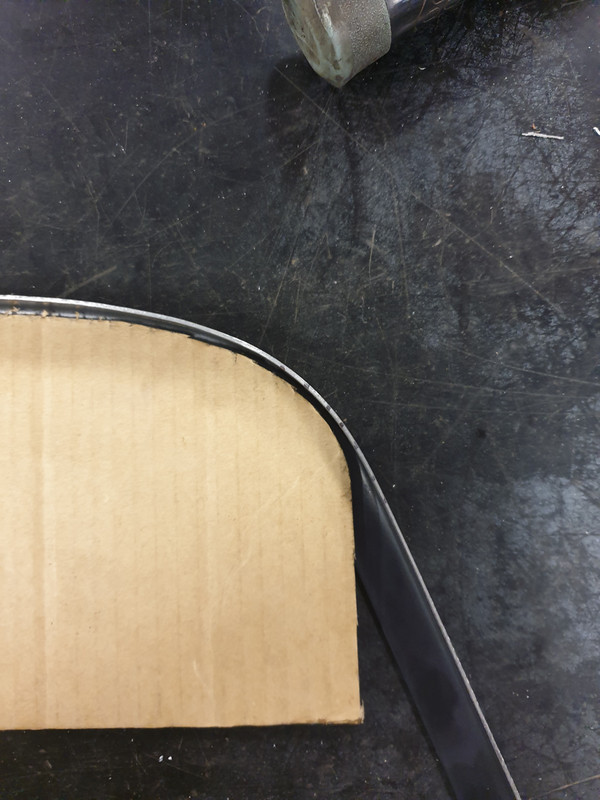
Other side on the way around. It does get a bit of a twist in it which needs to be massaged back but it turned out okay.
Image
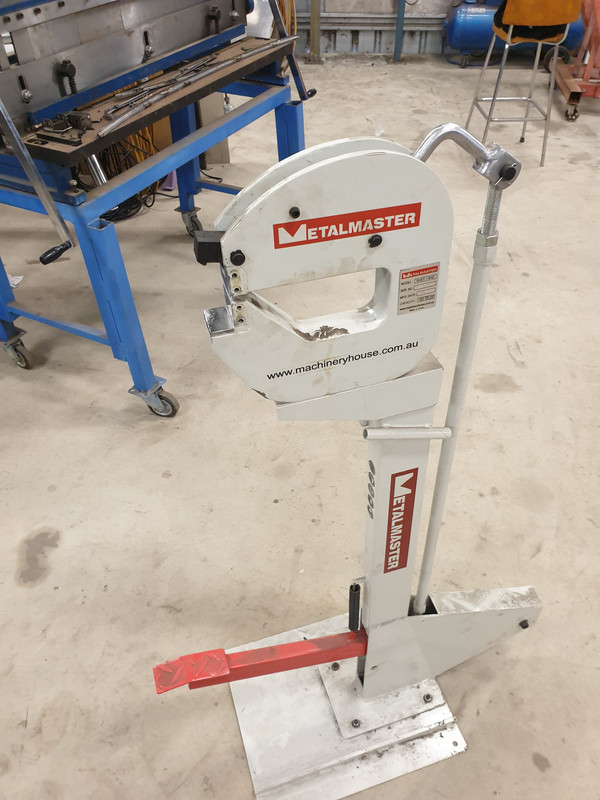
This is the shrinker stretcher I have, strong robust machine.
That is it for my holiday spurt, but I got rid of a couple of other projects around the place so should be able to spend a bit more time on it.

Hood inner structure steel $30
Battery clamp rods $4
Rivets $8
Cost $3033

Back to work today after 3 weeks off :cry: Everyone stay safe in these trying times and do what you can to stop the spread by staying home and working on a car.
Thanks for looking in.
Brock
Don't Follow Me I'm Lost Too
User avatar
Gojeep
Old Hand
Posts: 7219
Joined: Mon Jan 07, 2008 1:24 pm
Location: Eastern Suburbs of Melbourne
Contact:

Re: 1943 Jeep "Budget Beater"

Post by Gojeep »

Well done Brock. Really got some progress done while on leave. Least you will have something to look back on and remember what you did with it. :)
Marcus

To try where there is little hope, is to risk failure.
Not to try at all, is to guarantee it!


____| \______\
|/¯\ |¯ |----O||||O
()_)-o-)¯¯()_)-o-)_)
ShedBoy
Posts: 448
Joined: Sun Aug 04, 2013 10:19 am
Location: North Dandalup, Western Australia

Re: 1943 Jeep "Budget Beater"

Post by ShedBoy »

Been home for another week and got a little more work done on the bonnet.
Image
Image
Some cheap stainless gate hinges from bunnings. They have a nice tight pin so they don't rattle around. Welded together at the right width and original Jeep hinge holes used on the cowl.
Image
Bit of flat bar over the front.
Image
Image
Some of the folded angle along the side with some corner gusset that will pick up the bonnet hold downs.
Image
Image
Image
Image
Image
The basis of a bonnet frame. Gets close to the engine but has clearance most places. A raise section in the middle will be required to clear the intake plumbing and cover the gate hinges at the back.
Image
Image
Image
Image
Ones side close to done.
Image
Image
Second side done. A few hours work there on wheel, back on car, repeat numerous times.
Image
Filling the centre section and adding a bit to one side to meet the front edge. The joins along the bonnet will be a slow process. the panel is held on with clecos at the moment so the skin can be removed when needed for hammer and dolly work.
Image
Well not much for this week I am sorry, but a little each day gets it done slowly.
Stay safe everyone :)

Bonnet hinges $8
Bonnet skin $42

Cost $3083

Brock
Don't Follow Me I'm Lost Too
User avatar
jailbar joe
Old Hand
Posts: 3440
Joined: Sat Oct 24, 2009 8:33 pm
Location: york west aus

Re: 1943 Jeep "Budget Beater"

Post by jailbar joe »

brock i don't think anyone would call you stingy with the pic's :lol: :lol: i luv following your thread
cheers joe

if you do nothing then nothing happens
ratrob31
Posts: 40
Joined: Fri Oct 05, 2012 11:28 am

Re: 1943 Jeep "Budget Beater"

Post by ratrob31 »

Any progress on the build ?
Any chance on fixing the links for the pictures ?
Post Reply