It has been a while and have finally got some time to do some more on my jeep. till using parts I have laying around where I can.
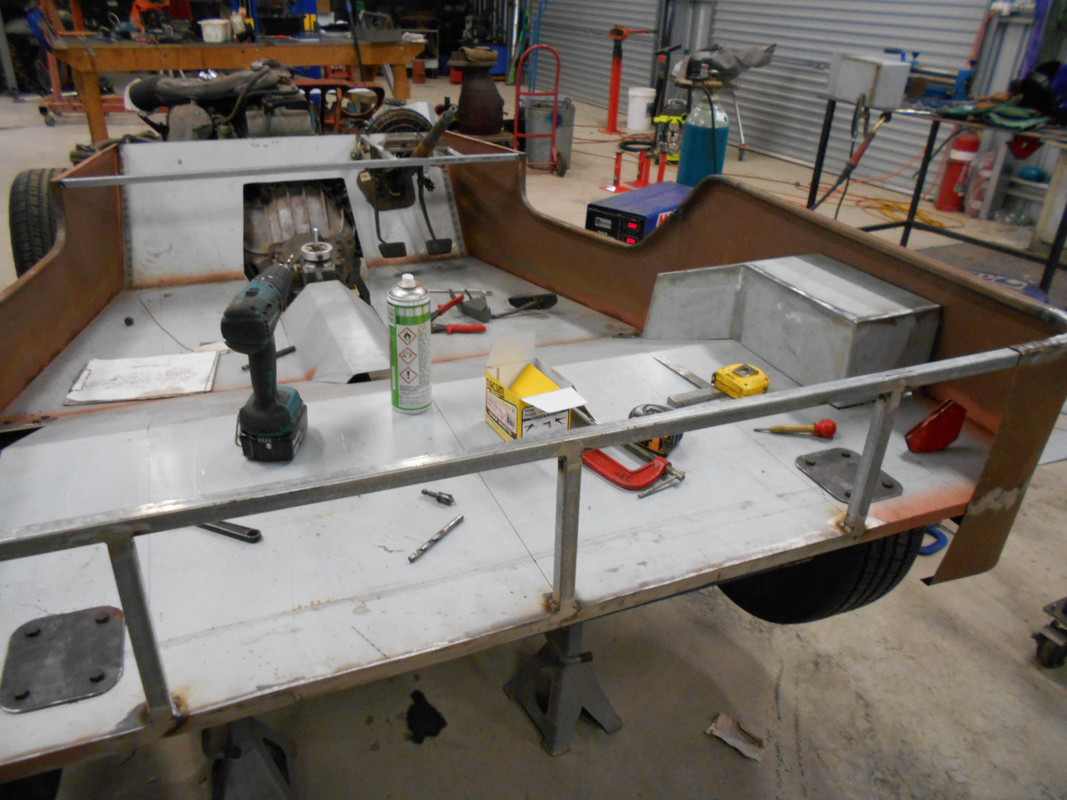
It has been all about the floor, you can see the body mount plates which are also going to double as roll bar mounts. I am using cams and andra specs for roll cage as it seems like a good standard to use. The floor is attached to the body side with spot welds every 25mm to a folded flange on the floor. Floor is 1.7mm and is quite stiff already with still some boxes to go in and the cowl will be welded on last.
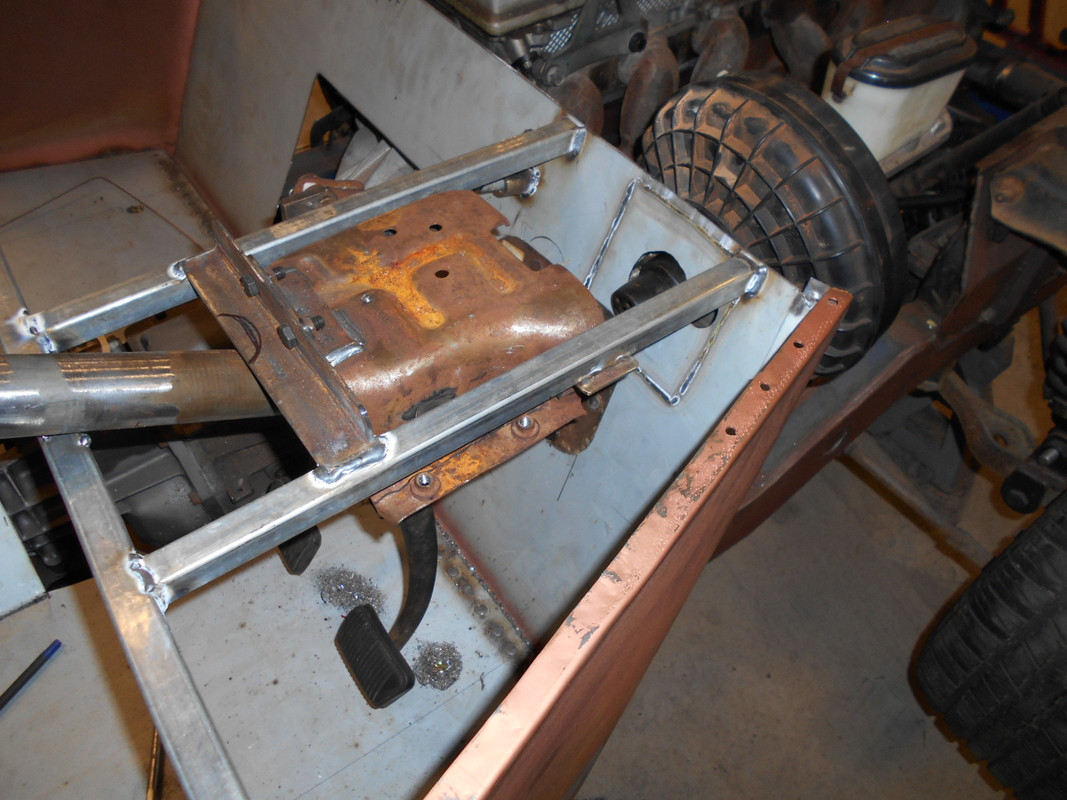
Falcon pedal assembly mounted.

Falcon brake booster and master cylinder. Clutch cable is also mounted.

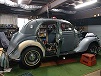
Steering colum is connected just waiting to get a seat in to set it at right height. You can also see the gearstick is probaly going to be too far forward so will have to go back to a standard extension housing so the will bring the price back down and I can use it in a another car in the wings. Closed cab model A pickup.
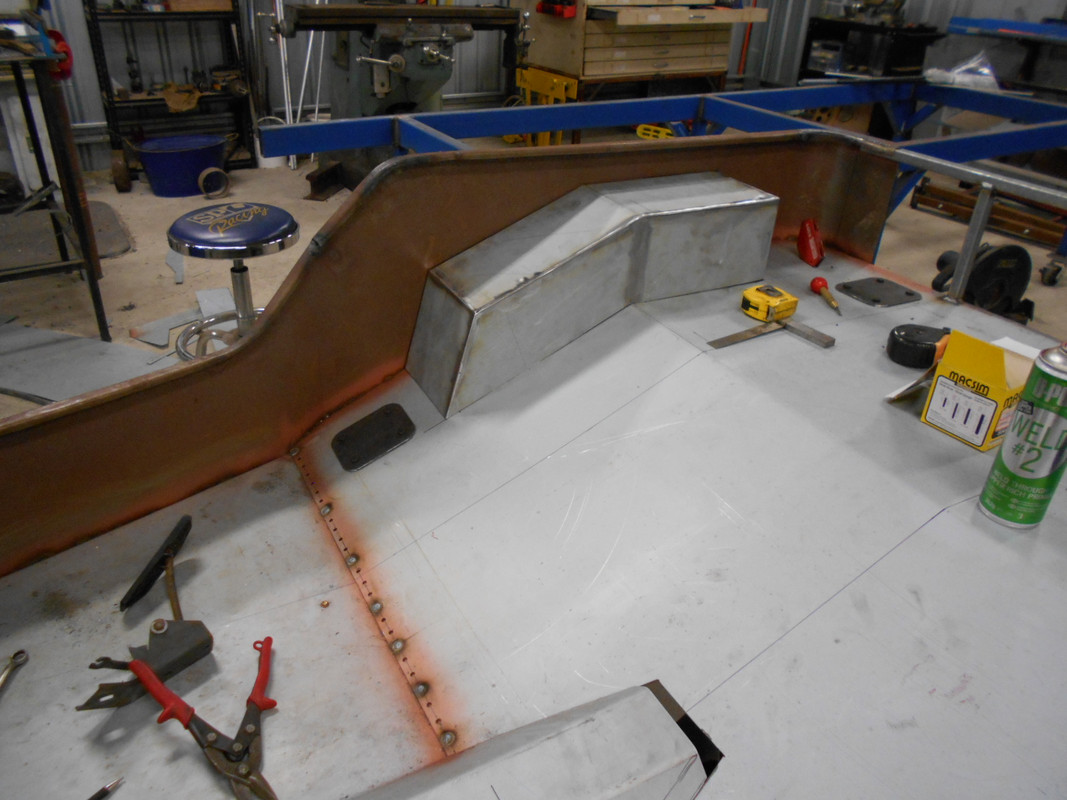
I sat a rounded guard in there but it looked wrong to me so I put these square one in.
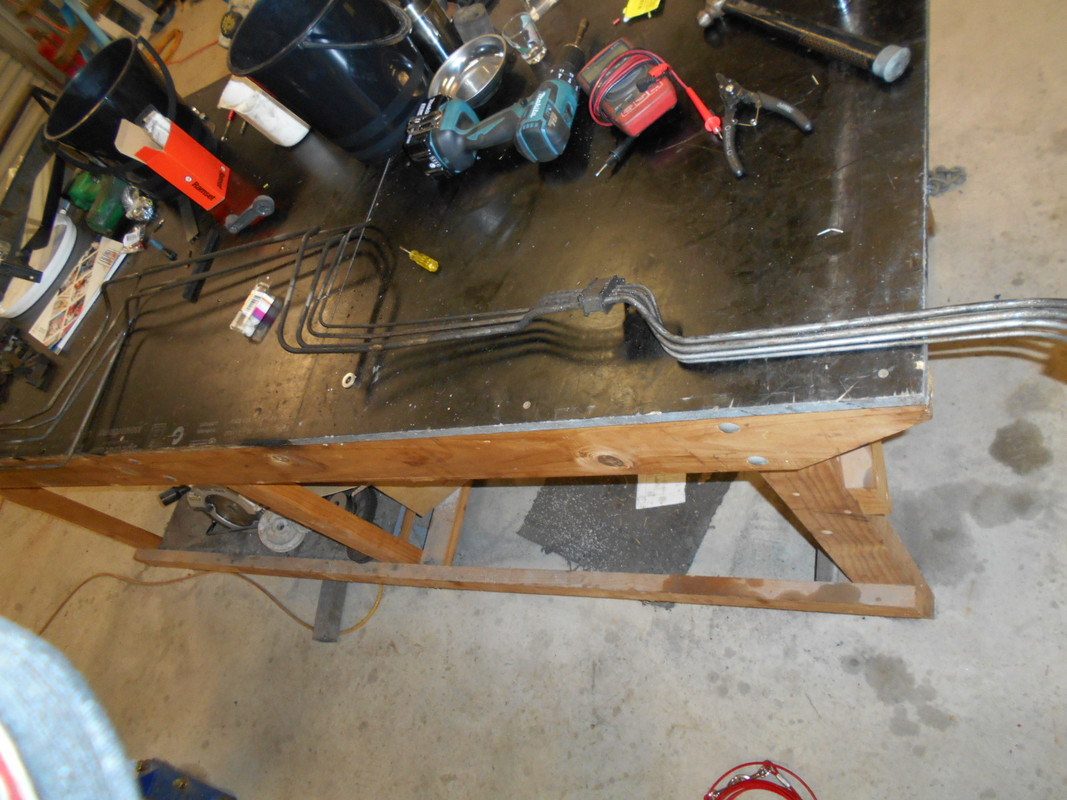
Fuel lines and mounts from a Falcon I wrecked out recently which has the right fitting to attach to the engine and the fuel pump sender bizo. Looks standard and was free.
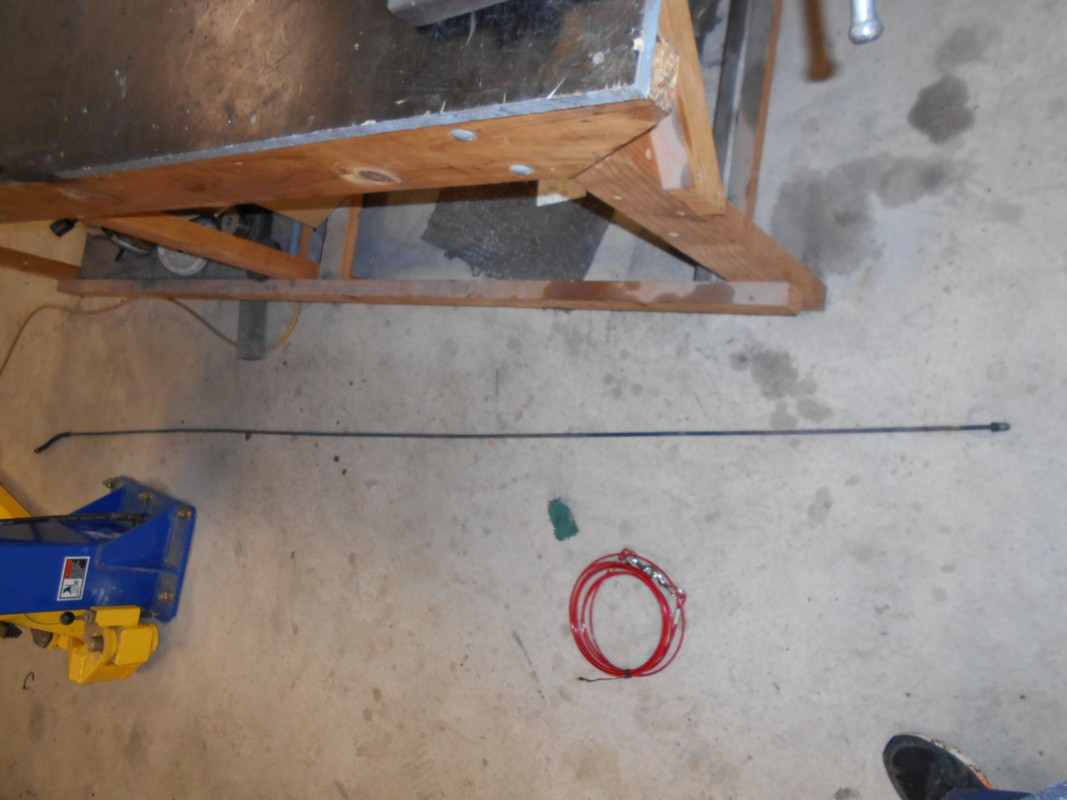
25 minutes with a vice with some vee blocks and it is straight enough for me.
Will do a price check on the next post.
Thanks for looking in
Brock