1943 Jeep "Budget Beater"

Go here for info on chassis construction, body work and suspensions
ShedBoy
Posts: 448
Joined: Sun Aug 04, 2013 10:19 am
Location: North Dandalup, Western Australia

Re: 1943 Jeep "Budget Beater"

Post by ShedBoy »

Trying another setting, so far alot easier to use than hobucket
Image
I put the body on top of it before loading on the trailer for inspection.

Brock
Don't Follow Me I'm Lost Too
ShedBoy
Posts: 448
Joined: Sun Aug 04, 2013 10:19 am
Location: North Dandalup, Western Australia

Re: 1943 Jeep "Budget Beater"

Post by ShedBoy »

Righto worked out a plan but if anyone knows a quick way to delete a photobucket library I am all ears.
Image
The beginning of the coil spring mount, it has a bit of tailshaft welded to it a commodore spring rubber fits over snugly
Image
Image
Lower arm mounts from some scrap rhs.
Image
Top links mounted, not prettiest but strong and functional not finished in this photo it was also brace up to the K member arm so it is in true double shear.
Image
Shortened commodore panhard bar

Cost $2795

Brock
Don't Follow Me I'm Lost Too
ShedBoy
Posts: 448
Joined: Sun Aug 04, 2013 10:19 am
Location: North Dandalup, Western Australia

Re: 1943 Jeep "Budget Beater"

Post by ShedBoy »

Image
Gear box and engine placed in for mounting. Simple crossmember from bits lying around.
Image
Original mounts were cut from the crossmember and welded rearward to match the engine, the engine needs some new mounts made as the standard hole is in the wrong spot but no biggie.
Image
Spent a day rolling it around, weld, let it cool, repeat several times
Image
Image
It is going to need some guards but there is plenty of room for equipment and space to sit. I was thinking of widening the body but I think it will really mess up the proportions, it already looks like a land crab :roll: oh well. After this it was loaded on a trailer and was taken to Malaga for the inspectors to have a look at, all went well and it is on to the next phase :D

ASRF application fee $250

Cost $3045

Brock
Don't Follow Me I'm Lost Too
User avatar
Gojeep
Old Hand
Posts: 7219
Joined: Mon Jan 07, 2008 1:24 pm
Location: Eastern Suburbs of Melbourne
Contact:

Re: 1943 Jeep "Budget Beater"

Post by Gojeep »

Great to see an update Brock. Certainly coming along. :)

May I make a suggestion and is something I have done when having a long drop for the frame panhard mount, and that is to simply run a brace from the bottom of it to the opposite frame rail. With the long length of the mount there is quite some leverage against it during cornering.

Cheers Marcus
Marcus

To try where there is little hope, is to risk failure.
Not to try at all, is to guarantee it!


____| \______\
|/¯\ |¯ |----O||||O
()_)-o-)¯¯()_)-o-)_)
User avatar
Chrisso
Old Hand
Posts: 4178
Joined: Thu Apr 12, 2012 10:44 am
Location: Albury NSW

Re: 1943 Jeep "Budget Beater"

Post by Chrisso »

Nice progress Bock looking great for as you say a Land Crab :wink: :wink: and I'm with you Postimage you rock :lol: :lol: :lol: :lol: :lol:
ShedBoy
Posts: 448
Joined: Sun Aug 04, 2013 10:19 am
Location: North Dandalup, Western Australia

Re: 1943 Jeep "Budget Beater"

Post by ShedBoy »

Gojeep wrote:Great to see an update Brock. Certainly coming along. :)

May I make a suggestion and is something I have done when having a long drop for the frame panhard mount, and that is to simply run a brace from the bottom of it to the opposite frame rail. With the long length of the mount there is quite some leverage against it during cornering.

Cheers Marcus
Yeah it needs something, it has been niggling me since I put it on.

Brock
Don't Follow Me I'm Lost Too
Twin Spinner
Senior Member
Posts: 1445
Joined: Mon Jan 02, 2012 7:45 pm
Location: Brisbane.

Re: 1943 Jeep "Budget Beater"

Post by Twin Spinner »

Following this :) we have a Jeep the same model up on the family farm that is still in pretty good nick since the old milking shed caved in, same cant be said for our Pilot shooting buggy, R.I.P. :cry:
If it has tits or wheels, you can expect trouble.
User avatar
Grazza
Old Hand
Posts: 4117
Joined: Mon Jan 10, 2005 8:54 pm
Location: Paradise In The Wide Bay

Re: 1943 Jeep "Budget Beater"

Post by Grazza »

Brock, you have a message, mate.
Graeme
I will forever defend your right
to disagree with my opinion.

"Within 5mm is Close Enough"
User avatar
Grazza
Old Hand
Posts: 4117
Joined: Mon Jan 10, 2005 8:54 pm
Location: Paradise In The Wide Bay

Re: 1943 Jeep "Budget Beater"

Post by Grazza »

Thanks for the pic's Brock, in the Engineer's hands as we speak.

Can you tell me the thickness of steel used for the shock mounts and the plate for the mounting the shock mounts as well please mate?

Also, did you get your front shocks from a Queensland Ebay supplier?

Thanks again.
Graeme
I will forever defend your right
to disagree with my opinion.

"Within 5mm is Close Enough"
ShedBoy
Posts: 448
Joined: Sun Aug 04, 2013 10:19 am
Location: North Dandalup, Western Australia

Re: 1943 Jeep "Budget Beater"

Post by ShedBoy »

Sorry about lateness but have been on holiday and flat out with other work.
The shock upper mounts is made from 6mm plate and the upper arm mount boxing plate on the outside of the chassis is 3mm. The coil overs I got from AHC on ebay have used 3 sets of them now on various projects and are happy with them.

Got some work done on the car because it is taking up too much room.
Image
Image
Engine mounts are done and gearbox is tacked together while I get a tail shaft in and check some clearance issues. Shaft is now in and all good.
Image
Driveline is in all done with stuff lying around.
Body was next on the list and the one I had was a bit thrown together and a bit rough. After a couple off hours on a grinder I managed to rest the grinder on my pinky and remove the tip of it. After calming down I cut off what was irking me and started on some new sides, they are mainly flat anyway.
Image
Image
Image
Image
Image
Image
Image
Image
Photos are self explanitory. Working on such a large panel can be a hassle. One side is nearly done and I have worked in the widening with the placement of the fold on the side by moving it back.

Cold Rolled sheet $53
Transmission mount $22
Modified tailshaft $200

Cost $3320

Thanks for looking in and the comments.
Brock
Don't Follow Me I'm Lost Too
ShedBoy
Posts: 448
Joined: Sun Aug 04, 2013 10:19 am
Location: North Dandalup, Western Australia

Re: 1943 Jeep "Budget Beater"

Post by ShedBoy »

In the last photo you can also see my man size saw horse. 900mm high, sooo much better to work on. Got them from total tools.

Brock
Don't Follow Me I'm Lost Too
User avatar
jailbar joe
Old Hand
Posts: 3440
Joined: Sat Oct 24, 2009 8:33 pm
Location: york west aus

Re: 1943 Jeep "Budget Beater"

Post by jailbar joe »

all looking good brock with your usual clever touches....looks like you will be making the chassis and fittings as well as the body on this one :wink: very well done,
just need to cast the engine and g/box and it will be a true home build rod :D
cheers joe

if you do nothing then nothing happens
User avatar
Gojeep
Old Hand
Posts: 7219
Joined: Mon Jan 07, 2008 1:24 pm
Location: Eastern Suburbs of Melbourne
Contact:

Re: 1943 Jeep "Budget Beater"

Post by Gojeep »

Well done mate on creating such a big panel. :)

I have 'modified' tip off the end of my pinky as well. Took the top off with an electric planer about 40 years ago!
Marcus

To try where there is little hope, is to risk failure.
Not to try at all, is to guarantee it!


____| \______\
|/¯\ |¯ |----O||||O
()_)-o-)¯¯()_)-o-)_)
ShedBoy
Posts: 448
Joined: Sun Aug 04, 2013 10:19 am
Location: North Dandalup, Western Australia

Re: 1943 Jeep "Budget Beater"

Post by ShedBoy »

It has been a while and have finally got some time to do some more on my jeep. till using parts I have laying around where I can.
Image
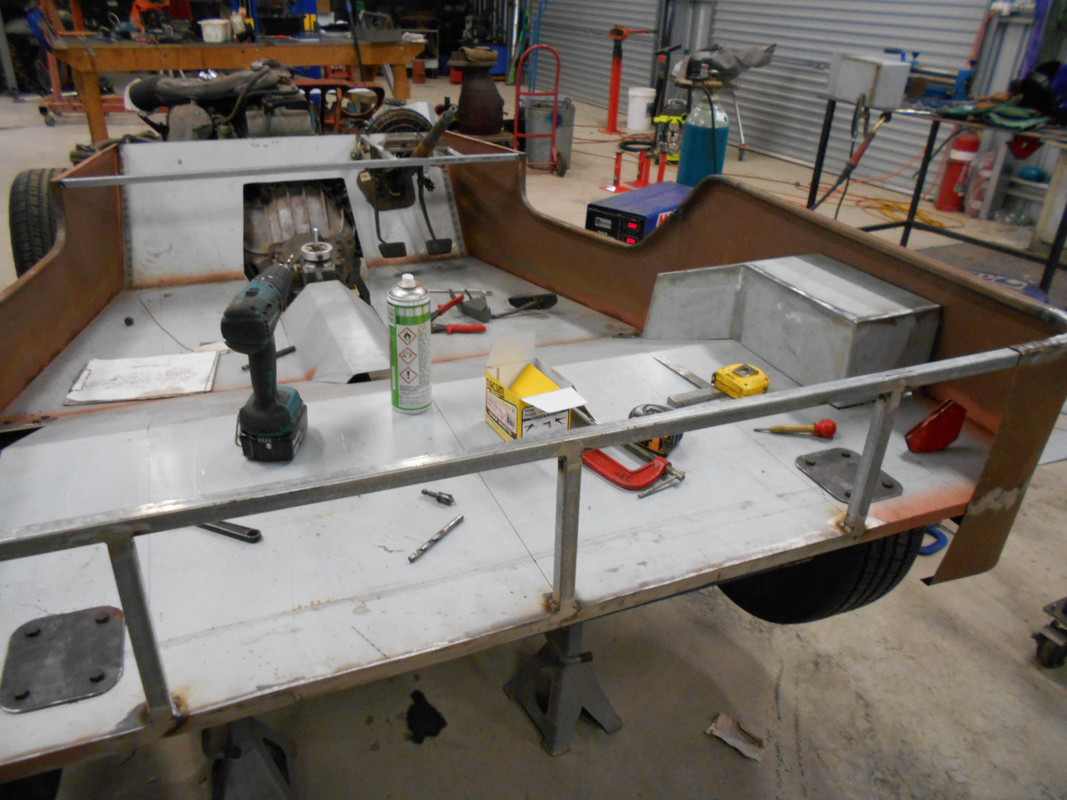
It has been all about the floor, you can see the body mount plates which are also going to double as roll bar mounts. I am using cams and andra specs for roll cage as it seems like a good standard to use. The floor is attached to the body side with spot welds every 25mm to a folded flange on the floor. Floor is 1.7mm and is quite stiff already with still some boxes to go in and the cowl will be welded on last.
Image
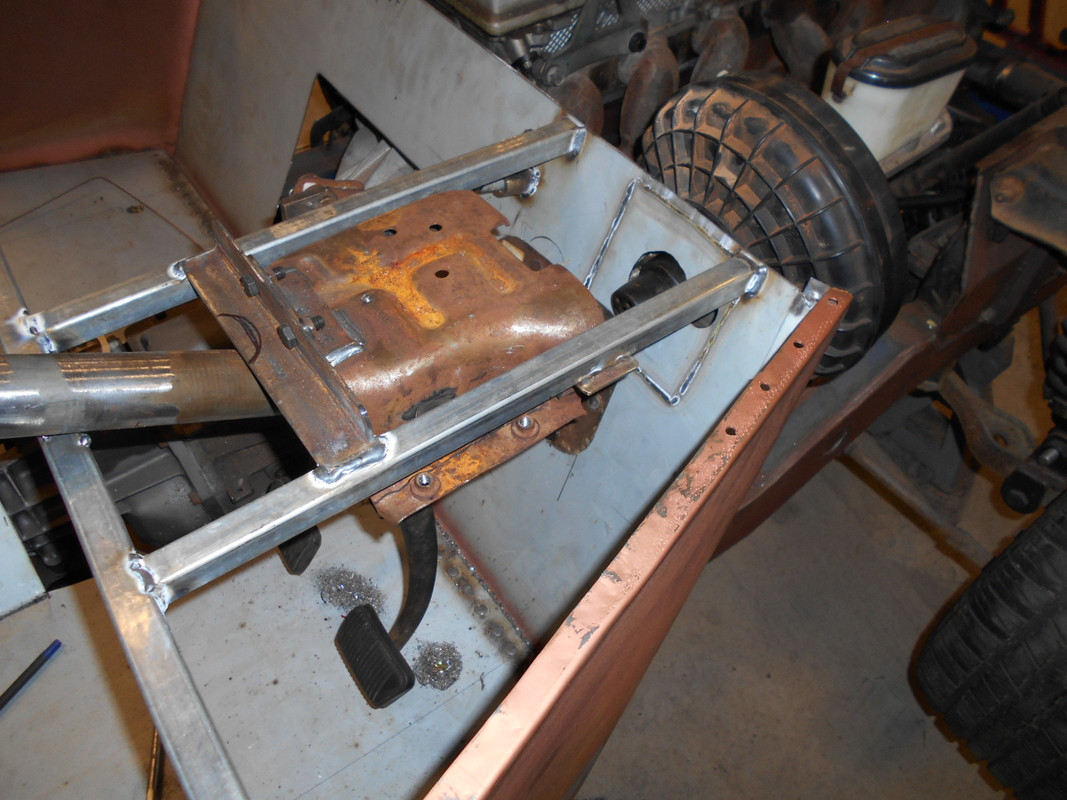
Falcon pedal assembly mounted.
Image
Falcon brake booster and master cylinder. Clutch cable is also mounted.
Image
Steering colum is connected just waiting to get a seat in to set it at right height. You can also see the gearstick is probaly going to be too far forward so will have to go back to a standard extension housing so the will bring the price back down and I can use it in a another car in the wings. Closed cab model A pickup.
Image
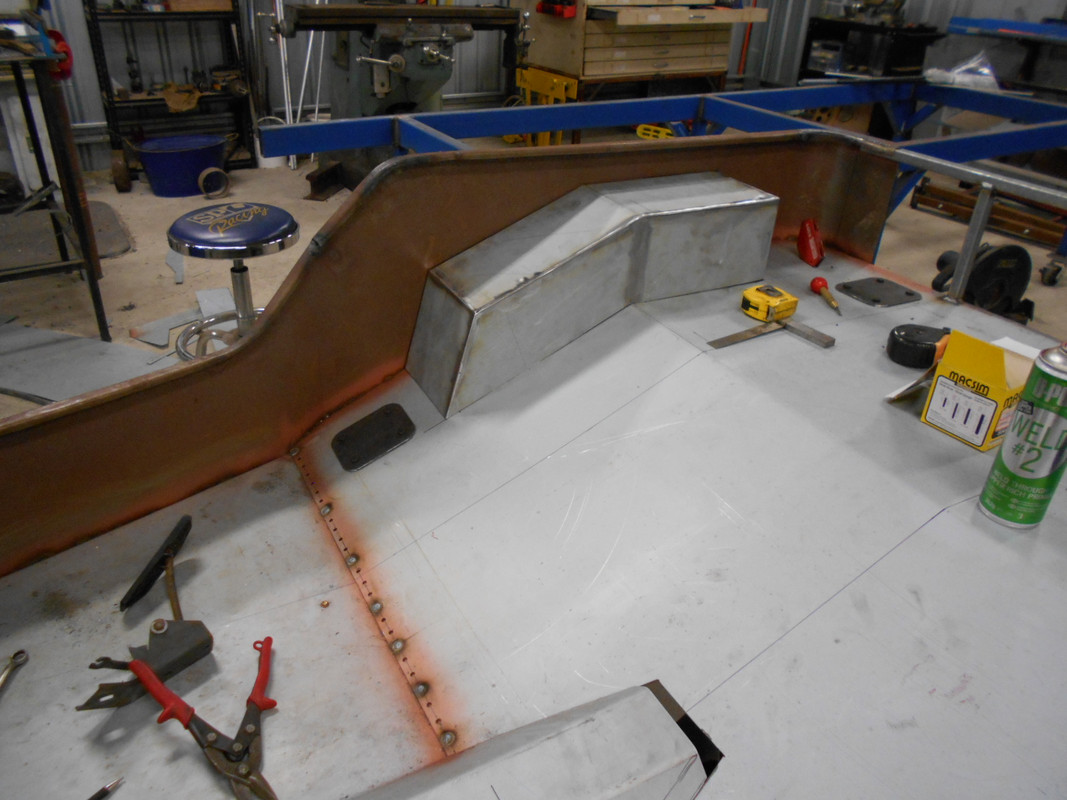
I sat a rounded guard in there but it looked wrong to me so I put these square one in.
Image
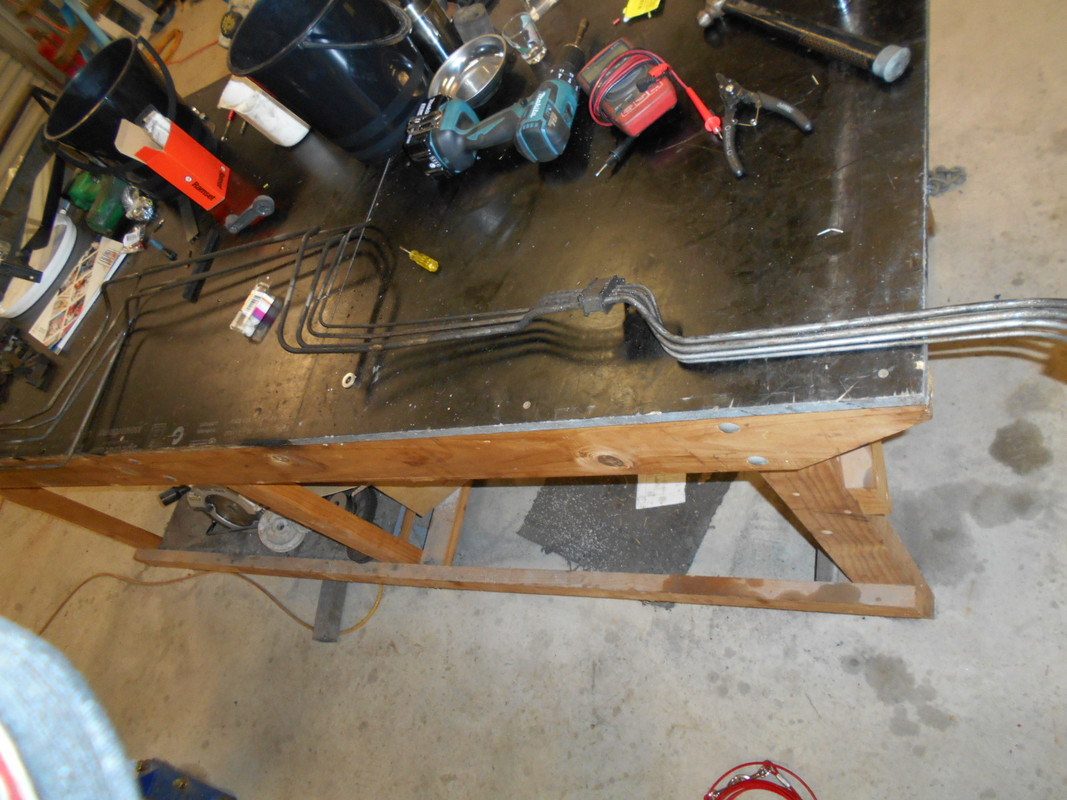
Fuel lines and mounts from a Falcon I wrecked out recently which has the right fitting to attach to the engine and the fuel pump sender bizo. Looks standard and was free.
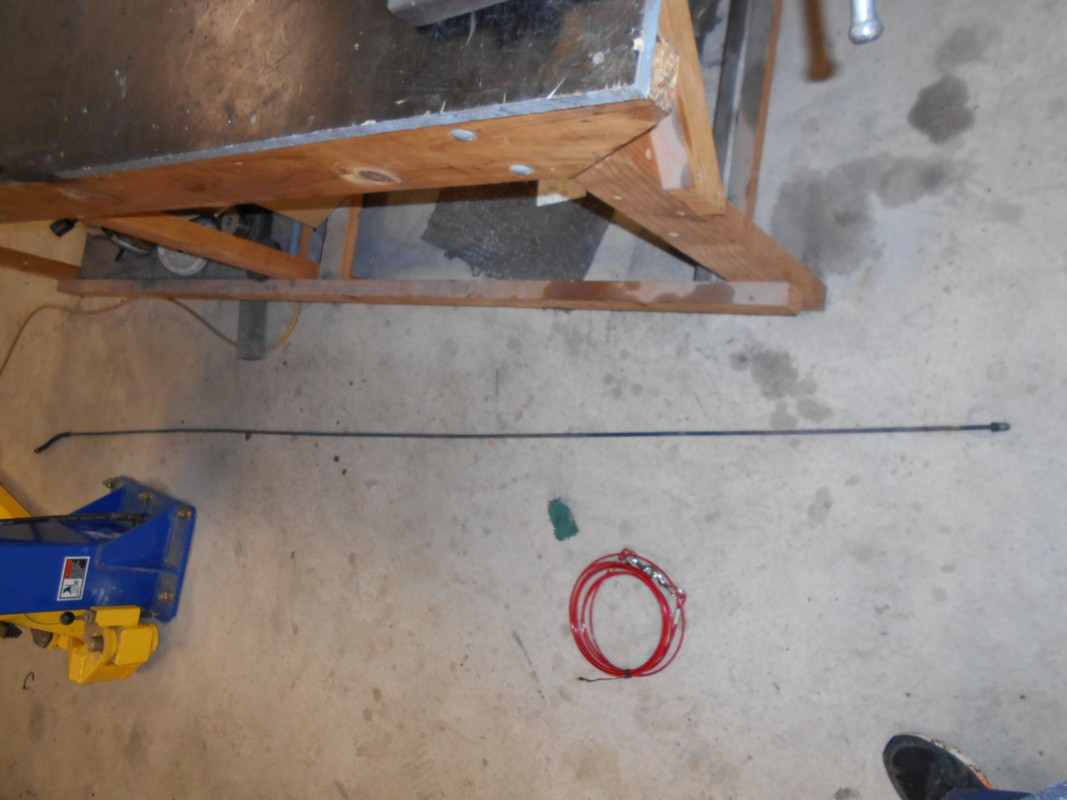
Image
25 minutes with a vice with some vee blocks and it is straight enough for me.
Will do a price check on the next post.
Thanks for looking in

Brock
Don't Follow Me I'm Lost Too
hotrodsteve
Member
Posts: 857
Joined: Fri Nov 06, 2009 12:14 am
Location: Perth,WA

Re: 1943 Jeep "Budget Beater"

Post by hotrodsteve »

Looking good Brock. 8) I was wondering where you had got to.
I hope there is enough room in there for a big fella like you. :lol:
Is the seating going to be on a more reclined angle than normal?
Keep up the good work . Regards Steve.
Post Reply